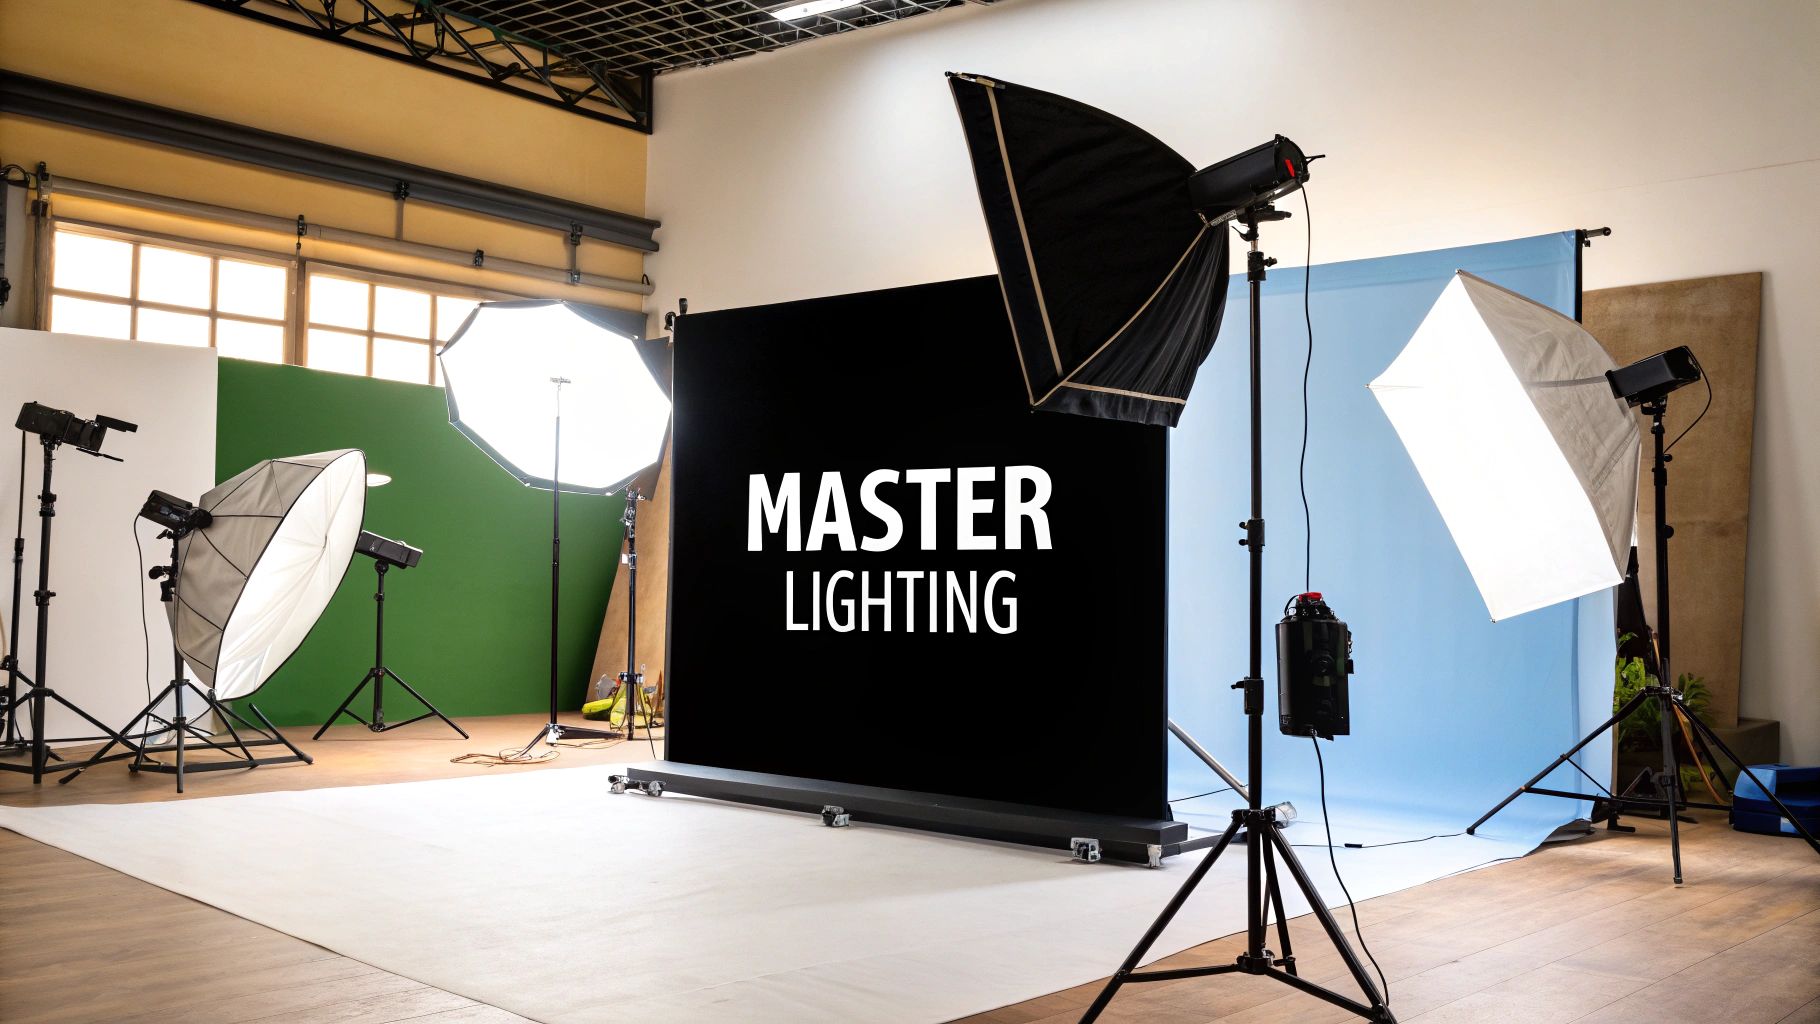
Before you even think about buying a new lens or upgrading your camera body, let's talk about the one thing that will completely transform your photos: light.
Mastering lighting is what separates a quick snapshot from a breathtaking, professional photograph. It’s all about learning how to control and shape light to create a specific mood, define textures, and add a sense of depth. This means understanding its four core properties—quality, direction, color, and intensity—and using them with purpose.
Why Understanding Light Is Your First Step
The most important skill you can ever develop as a photographer is learning how to see light. Seriously. Think of light as your true primary tool, even more fundamental than the gear in your bag.
Light is what dictates the entire feel of an image. It carves out shapes, reveals textures, and tells the viewer exactly where to look. Once you start recognizing its properties in the world around you, you'll have the foundation you need for every lighting technique that follows.
This journey from just taking pictures to making them started a long time ago. Early photographers were stuck with whatever the sun gave them, which was incredibly limiting. The game changed in 1839 when pioneers began experimenting with artificial sources like limelight. That was the beginning of a long road leading to the powerful and precise tools we have today.
The Four Pillars of Photographic Light
Every light source imaginable, from the harsh midday sun to a tiny LED panel, can be broken down by four key characteristics. Get a handle on these, and you’ll be able to analyze any light you see and recreate any look you want.
- Quality (Hard vs. Soft): This is all about the shadows. Hard light comes from a small, direct source (like a bare flash) and creates sharp, defined shadows with high contrast. Soft light comes from a large, diffused source (like an overcast sky), wrapping gently around your subject for soft, feathered shadows and a more flattering vibe.
- Direction: Where the light is coming from completely changes how your subject looks. Sidelight is fantastic for revealing texture. Backlight separates your subject from the background with a beautiful glow. Front light tends to flatten things out but can be useful for clean, even illumination.
- Color (Temperature): We measure this in Kelvin (K). It’s what makes light feel "warm" (yellow/orange) or "cool" (blue). For example, a candle flame is super warm at around 1,900K, while a clear blue sky is very cool, sometimes over 10,000K.
- Intensity (Brightness): This one's simple—it's just how bright the light is. Intensity directly impacts your exposure settings (aperture, ISO, and shutter speed) and the overall brightness of your photo.
To help you remember how these properties work, here’s a quick reference table.
How Key Properties of Light Affect Your Image
| Property of Light | Description | Visual Effect |
|---|---|---|
| Quality | Refers to the hardness or softness of light, determined by the size of the source relative to the subject. | Hard light creates sharp shadows and high contrast. Soft light creates gentle, gradual shadows and lower contrast. |
| Direction | The angle from which the light hits the subject. | Front light flattens features. Sidelight adds drama and texture. Backlight creates separation and a halo. |
| Color | The warm (yellow/orange) or cool (blue) tint of the light, measured in Kelvin. | Warm light (like sunset) evokes feelings of comfort and happiness. Cool light (like shade) can feel calm or somber. |
| Intensity | The brightness or strength of the light source. | Affects exposure settings and determines whether the scene is bright and airy or dark and moody. |
Understanding these four pillars is what gives you creative control over the final image.
Seeing Light in the Real World
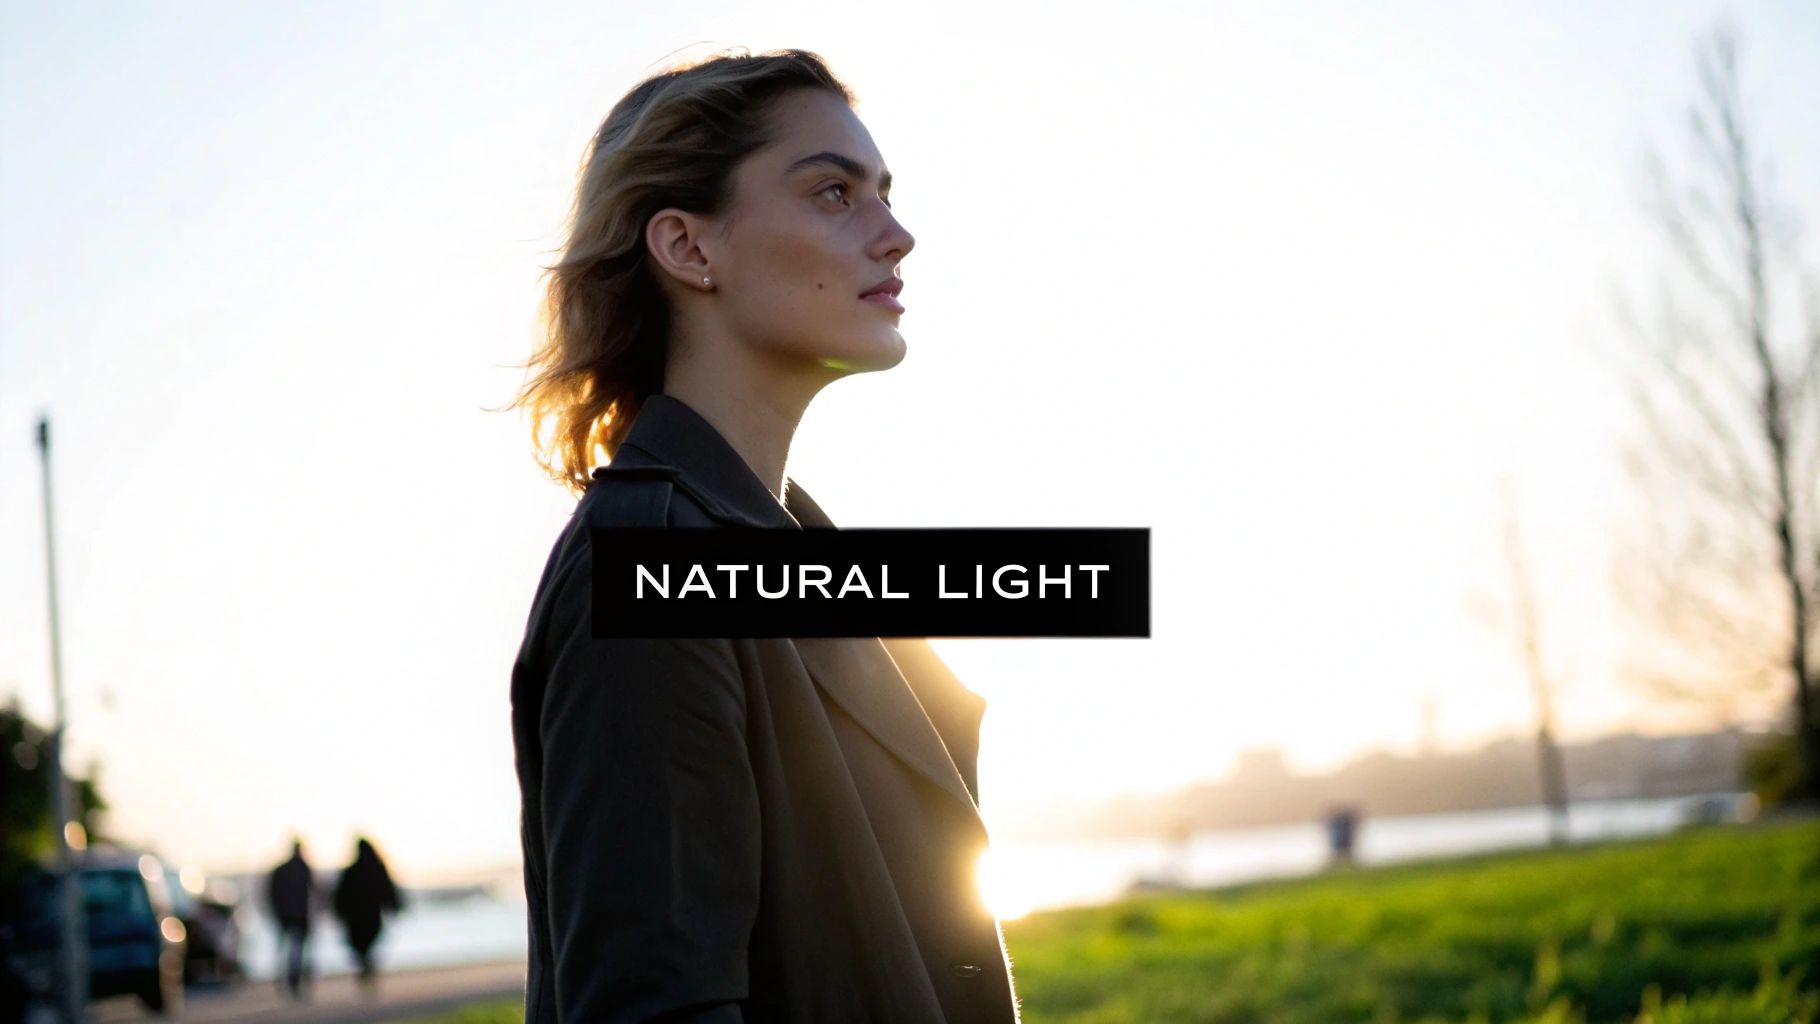
Let's ground this in reality. Think about a bright, sunny afternoon. The light is hard, intense, and coming from a high direction. Now, picture the "golden hour" just before sunset. The light becomes beautifully soft, warm in color, and comes from a low, flattering direction. You can even find inspiration from fields like architecture, where discussions about natural lighting products show how light is shaped in different contexts.
The most important thing to remember is that you don't find great light, you create it. By understanding these four properties, you gain the power to modify any light source to match your creative vision.
This knowledge is also critical because lighting and composition are deeply intertwined. The way light creates highlights and shadows forms the lines, shapes, and focal points in your image. To see just how connected they are, take a look at our complete guide on photography composition tips. When you nail both, you elevate your photos from just being technically correct to being truly compelling.
Choosing Your Essential Lighting Gear and Modifiers
Stepping into the world of artificial light can feel like walking into a massive store with endless aisles of gear. It's overwhelming. But the good news is you don’t need it all. Not even close.
The goal is to pick a few versatile tools that give you real control. You want to be able to shape light to fit whatever creative vision you have in mind, and that starts with your light source.
Continuous Lights Versus Strobes
Your first big decision boils down to two main options: continuous lights or strobes (also called flashes). Understanding how they feel to work with is the key to building a kit you'll actually use.
Continuous lights, like modern LED panels, stay on the entire time. This is a huge advantage for anyone starting out. It's a "what you see is what you get" situation—you can see exactly how the light and shadows fall on your subject in real-time before you even touch the shutter. They're also an absolute must for videography.
Strobes, from small on-camera speedlights to big studio packs, are a different beast. They fire an incredibly powerful, split-second burst of light. Their main advantage is raw power. A good strobe can easily overpower the midday sun for outdoor portraits and freeze fast-moving action with tack-sharp clarity. They have a bit of a learning curve, but that power and efficiency make them the standard for most professional photographers.
Key Takeaway: Start with what feels most intuitive. If seeing the light in real-time helps you learn faster, an LED is perfect. If you know you'll need maximum power to shoot outdoors or freeze motion, a strobe is your best bet.
Shaping Light with Modifiers
A bare flash bulb produces harsh, ugly light. It's just not flattering. The real magic comes from modifiers—the tools you attach to your light to change its quality.
Think of your light source as raw clay. Modifiers are your sculpting tools, letting you change the light's size, shape, and softness.
Here are the essential modifiers and what they actually do:
- Softboxes: These are enclosures that spread out the light, making your light source effectively larger and, therefore, much softer. A big softbox is your go-to for creating beautiful, flattering portrait light that looks like it's coming from a large window.
- Umbrellas: Simple, portable, and great for creating broad, soft light. A shoot-through umbrella is made of white, translucent material; you fire the flash through it to diffuse the light. A bounce umbrella has a silver or gold interior, and you fire the flash into it to reflect a punchier, more controlled light back onto your subject.
- Reflectors: Maybe the most underrated tool in the bag. A reflector doesn't create light; it just bounces existing light back into the shadows. A simple white foam board held opposite your main light can gently "fill" in the dark shadows on a person's face, creating a balanced, professional look for practically no cost.
- Grids: A grid is a honeycomb-like insert that attaches to a softbox or reflector dish. Its only job is to stop the light from spilling everywhere. This gives you a narrow, focused beam of light for a dramatic, high-contrast look—perfect for spotlighting your subject or creating a moody, cinematic feel.
A Practical Starter Setup Tutorial
Ready to try it? Here’s a dead-simple one-light setup that delivers professional results for a classic portrait.
- Position Your Light: Place your strobe or LED on a light stand. Position it at a 45-degree angle to your subject and just a bit above their eye level. This is a classic starting point for a reason.
- Attach a Modifier: Mount a medium-sized softbox onto your light. This single step will immediately soften the light, creating more pleasing shadows and a gentle transition from light to dark on your subject's face.
- Add a Reflector: Have your subject (or an assistant) hold a white reflector on the side opposite the light. Angle it so it catches the light from the softbox and bounces it back into the shadows on the other side of their face.
- Take a Test Shot: Now, just adjust. Tweak the power of your light and the exact position of the reflector until the shadows look just right to you. Notice how the softbox creates the main shape, while the reflector fine-tunes the contrast.
This simple combo—one light, one softbox, one reflector—is a foundational setup used by countless pros. By really mastering these basic tools, you gain massive control over your images and move from just capturing light to truly shaping it.
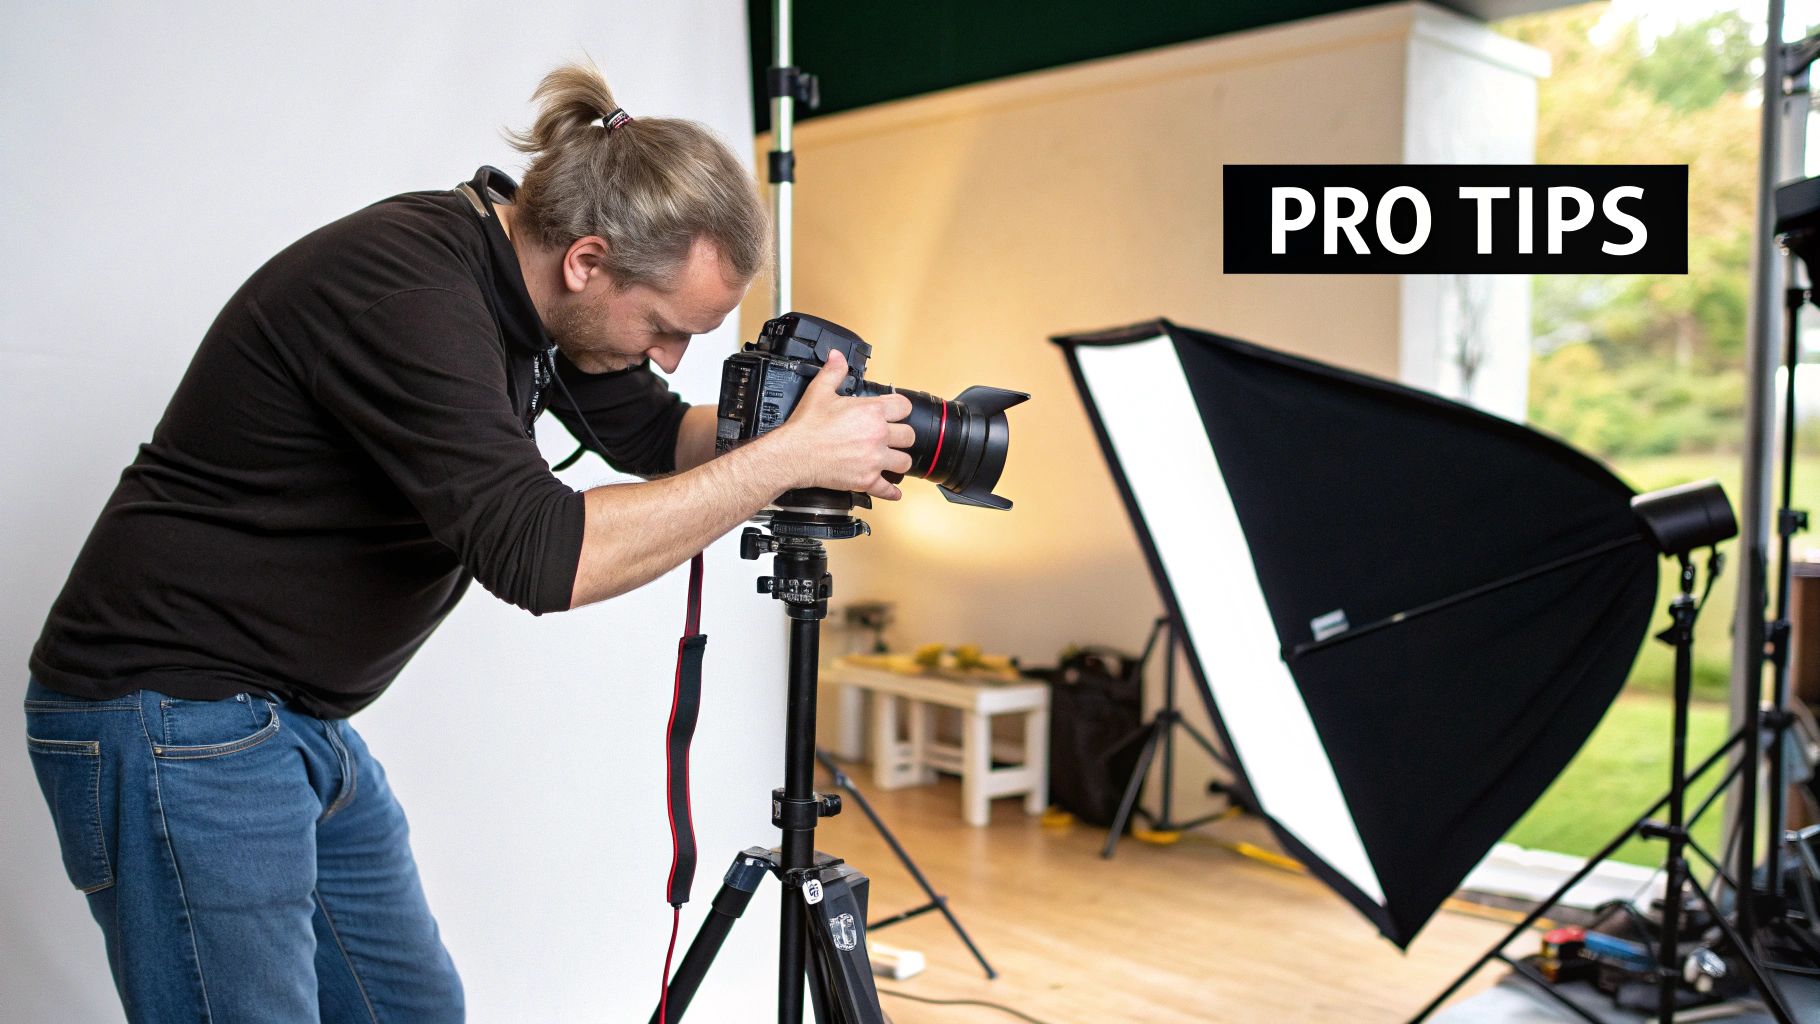
Iconic Portrait Lighting Setups Step-by-Step
Theory is great, but photography really comes alive when you get hands-on. Let's move from just knowing the concepts to actually using them. We're going to walk through the most famous and versatile portrait lighting techniques out there—the foundational patterns every single photographer should have in their toolkit.
The ability to place and shape light isn't just a technical skill; it's how legendary styles like Rembrandt, butterfly, and split lighting were born. These patterns still define the very soul of modern portraiture. As these methods were perfected, they shaped everything from high fashion photography to blockbuster films, where light is the primary tool for telling a story.
Think of these setups as your recipes for getting professional, repeatable results. By following these guides, you’ll learn exactly where to put your key light, how to use fills, and what to look for to nail a specific, predictable look every time.
The image below gives you a quick rundown of the most common artificial lights you'll encounter—LEDs, speedlites, and studio strobes—and breaks down how they stack up in terms of power, color control, and portability.
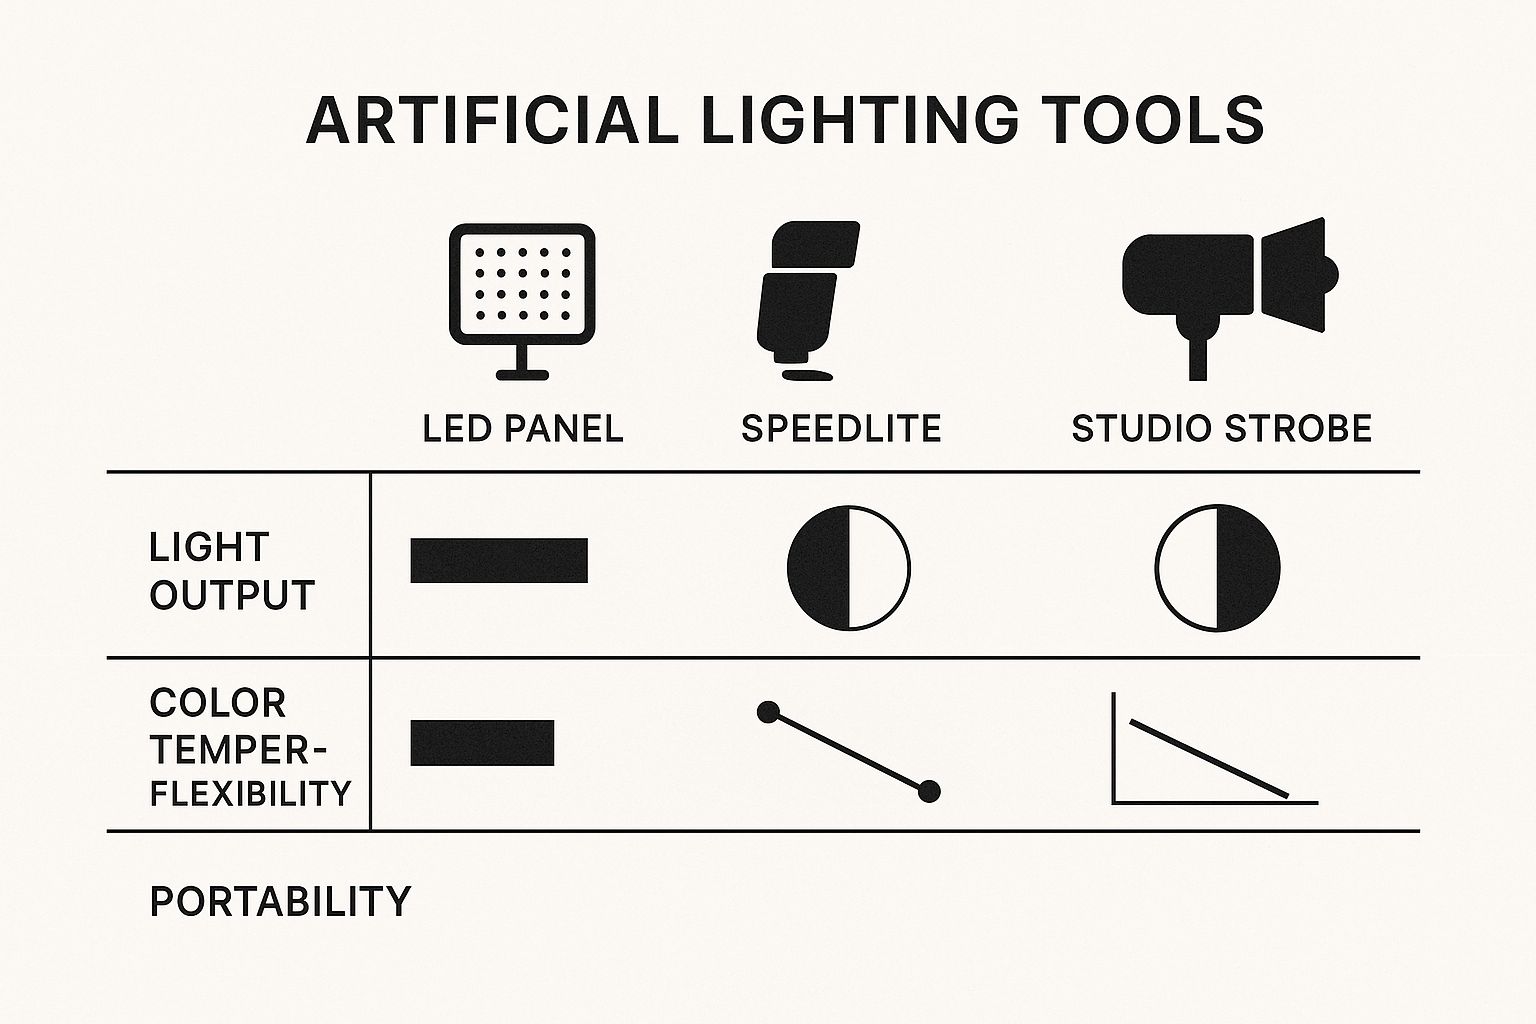
As you can see, there's always a trade-off. Studio strobes pack the most punch, but you can't beat the portability of speedlites and LEDs when you're shooting on location.
How to Create Rembrandt Lighting
Named after the legendary Dutch painter himself, Rembrandt lighting is all about drama and mood. Its calling card is that famous little triangle of light on the cheek opposite your main light source.
This technique uses shadow to sculpt the face, creating a sense of depth and classic artistry. It's my go-to when I want to create a powerful, character-driven portrait that really makes you stop and look.
Step-by-Step Rembrandt Setup
- Position Your Key Light: Place your main light (with a softbox or umbrella) at roughly a 45-degree angle to your subject.
- Raise the Light: Get that light stand up high, so the light is angled down toward your subject’s face. A good starting point is just above their head.
- Find the Triangle: Ask your subject to turn their head just slightly away from the light. Now, watch their shadowed cheek. Tweak the light’s position until you see that small, inverted triangle of light pop into view. It should be no wider than their eye and no longer than their nose.
- Add a Reflector (Optional): If the shadows are too harsh, bring in a white reflector on the opposite side to gently bounce some light back and lift the dark areas.
Pro Tip: The secret to authentic Rembrandt lighting is making sure the shadow from the nose connects with the shadow on the cheek. If there's a gap, the triangle won't be defined. It all comes down to tiny adjustments in your light's position or your subject's pose.
How to Create Loop Lighting
Loop lighting is easily one of the most common and flattering patterns in photography. Why? Because it’s a workhorse that looks good on almost any face shape, creating just enough shadow to add dimension without being overly dramatic.
The name comes from the small shadow created by the nose, which "loops" down and to the side, pointing toward the corner of the mouth.
Step-by-Step Loop Setup
- Set Your Key Light: Start by placing your key light about 30 to 45 degrees off to the side of your camera.
- Adjust Light Height: You want the light just slightly above your subject's eye level, angled downwards. This is the angle that creates that signature nose shadow.
- Look for the Loop: Keep an eye on the nose shadow. You're looking for a small, downward-pointing shadow that doesn't touch the main shadow on the cheek. If it's too long, your light is too high.
- Fill the Shadows: Just like with the Rembrandt setup, you can use a reflector on the opposite side to manage how deep the shadows are. The closer you bring the reflector, the softer the shadows will be.
How to Create Butterfly Lighting
Often called "Paramount" lighting (a nod to its heavy use in classic Hollywood glamour shots), butterfly lighting is incredibly flattering. It’s defined by the small, butterfly-shaped shadow it casts directly under the nose.
This pattern is fantastic for highlighting cheekbones and giving subjects a clean, polished, glamorous look. It's a staple in beauty and fashion photography for a reason. To see more examples of polished portraiture, check out our guide on capturing professional actor headshots.
Step-by-Step Butterfly Setup
- Position the Light: Place your key light directly in front of your subject, perfectly centered with their face.
- Raise It High: The magic of this look is all about height. Your light needs to be well above eye level and angled down sharply. This is what carves out the cheekbones and creates that distinct shadow under the nose.
- Add a Reflector: With light coming from so high up, you'll often get deep shadows under the chin and neck. An easy fix is to place a reflector directly under your subject's chin (having them hold it on their lap works great) to bounce light back up and fill in those areas.
How to Create Split Lighting
Just like the name says, split lighting literally splits the face into two equal halves: one side is lit, and the other is in shadow. This creates a really powerful, dramatic, and often masculine feel.
The setup is deceptively simple: you just place the light source directly to one side of the subject, creating a hard line of light and shadow right down the center of their face.
Step-by-Step Split Setup
- Place Light at 90 Degrees: Position your key light at a perfect 90-degree angle to your subject. It should be right in line with their ear.
- Control Spill: The goal is to keep the light only on one side of the face. You might need to use a grid or barn doors on your light to stop it from spilling over to the shadowed side.
- Observe the Catchlight: For a true split-lighting effect, you should only see a catchlight (the reflection of your light) in the eye on the illuminated side of the face.
- Use Negative Fill (Optional): Want even more drama? Instead of a white reflector, use a black card on the opposite side. This is called "negative fill"—it absorbs light and makes the shadows even deeper, cranking up the contrast.
Comparing Classic Portrait Lighting Patterns
To make things even clearer, here’s a quick-reference table that breaks down the four classic lighting patterns we just covered. Think of it as a cheat sheet for choosing the right setup for the mood you want to create.
| Lighting Pattern | Key Light Position | Signature Shadow | Mood and Effect |
|---|---|---|---|
| Rembrandt | 45° to the side, high angle | Small triangle of light on the shadowed cheek | Dramatic, moody, classic, and artistic |
| Loop | 30-45° to the side, slightly high | Small "loop" shadow from the nose, not touching the cheek | Flattering, versatile, adds dimension without being overly dramatic |
| Butterfly | Directly in front, very high angle | Small "butterfly" shadow directly under the nose | Glamorous, high-fashion, highlights cheekbones |
| Split | Exactly 90° to the side | Face is split into one lit half and one shadowed half | Dramatic, powerful, high-contrast, often masculine |
Each pattern has its own distinct personality. By understanding these subtle differences, you gain incredible control over the final feel of your portraits. With a little practice, moving your light just a few feet will become second nature, allowing you to shape emotion and tell a story with every shot.
Creating Stunning Photos With Just One Or Two Lights
You don’t need a garage full of gear to capture images that command attention. Some of the most dramatic portraits and product shots come from just one or two lights. Stripping back your setup forces you to focus on direction, quality, and shadow, building a rock-solid foundation in lighting.
By working with minimal gear, you’ll begin to see how a single beam can sculpt features or how a second light can breathe life into a scene. Whether you’re aiming for moody contrast or soft, ethereal highlights, mastering these pared-down configurations is the key to creative control.
Mastering The One-Light Setup
The one-light arrangement is a masterclass in intention. Every tweak—placement, angle, modifier—shapes the final image.
Step-by-Step One-Light Dramatic Portrait
- Position Your Light: Mount your speedlight or strobe at a 90-degree angle to your subject, aligned with their shoulder. This creates that iconic split-lighting look.
- Add a Modifier: Clip on a grid or reflector dish. It narrows the light spill, crafting a tight, high-contrast beam that keeps the background dark.
- Feather the Light: Aim just in front of your subject, not straight at their face. This gentle edge of light delivers a soft-to-strong transition from highlight to shadow.
- Use Negative Fill: Place a large black card or foam board opposite your light. This negative fill soaks up stray illumination, deepening shadows for extra drama.
Switching your grid for a large softbox transforms this same angle into a wraparound glow. In seconds, you go from hard-edged drama to soft, dreamy portraits.
Adding A Second Light For Creative Control
Once you’ve nailed single-source lighting, a second light becomes your artistic ally. Think of it as adding a new color to your palette—not simply brightening shadows, but accentuating form and depth.
Often, photographers default to a key-and-fill arrangement:
- Key Light: Your primary source, setting the mood.
- Fill Light: A gentler beam, softening shadows.
But don’t stop there. Use your second light to carve out separation, highlight hair, or give clothing texture.
A second light isn’t there to erase shadows—it’s there to trace edges, add dimension, and lift your subject off the background.
How To Create A Dynamic Rim Light
A rim light (also called a backlight or kicker) outlines your subject with a crisp highlight, instantly adding depth. Place it behind your model and aim it toward the camera, so it grazes hair, shoulders, and clothing edges.
Step-by-Step Key And Rim Light Setup
- Set Your Key Light: Position a softbox at a 45-degree angle in front of your subject, slightly above eye level. This is your main illumination.
- Position The Rim Light: Hide your second light behind the subject, offset to one side. Aim it so it skims the back of their head and shoulders.
- Adjust The Power: Start with rim light power matched to your key. Increase or decrease until you see a clean edge highlight without overpowering the face.
- Control Spill: If the rim light spills into the lens, add barn doors or a grid to focus its beam solely on the outline.
Pairing a soft key light with a pinpoint rim light is a staple in commercial shoots. It brings a professional polish you simply can’t get with a single front-facing light. Master these one- and two-light techniques, and you’ll have a versatile toolkit ready for any scenario.
Exploring Creative Lighting Techniques for Unique Images
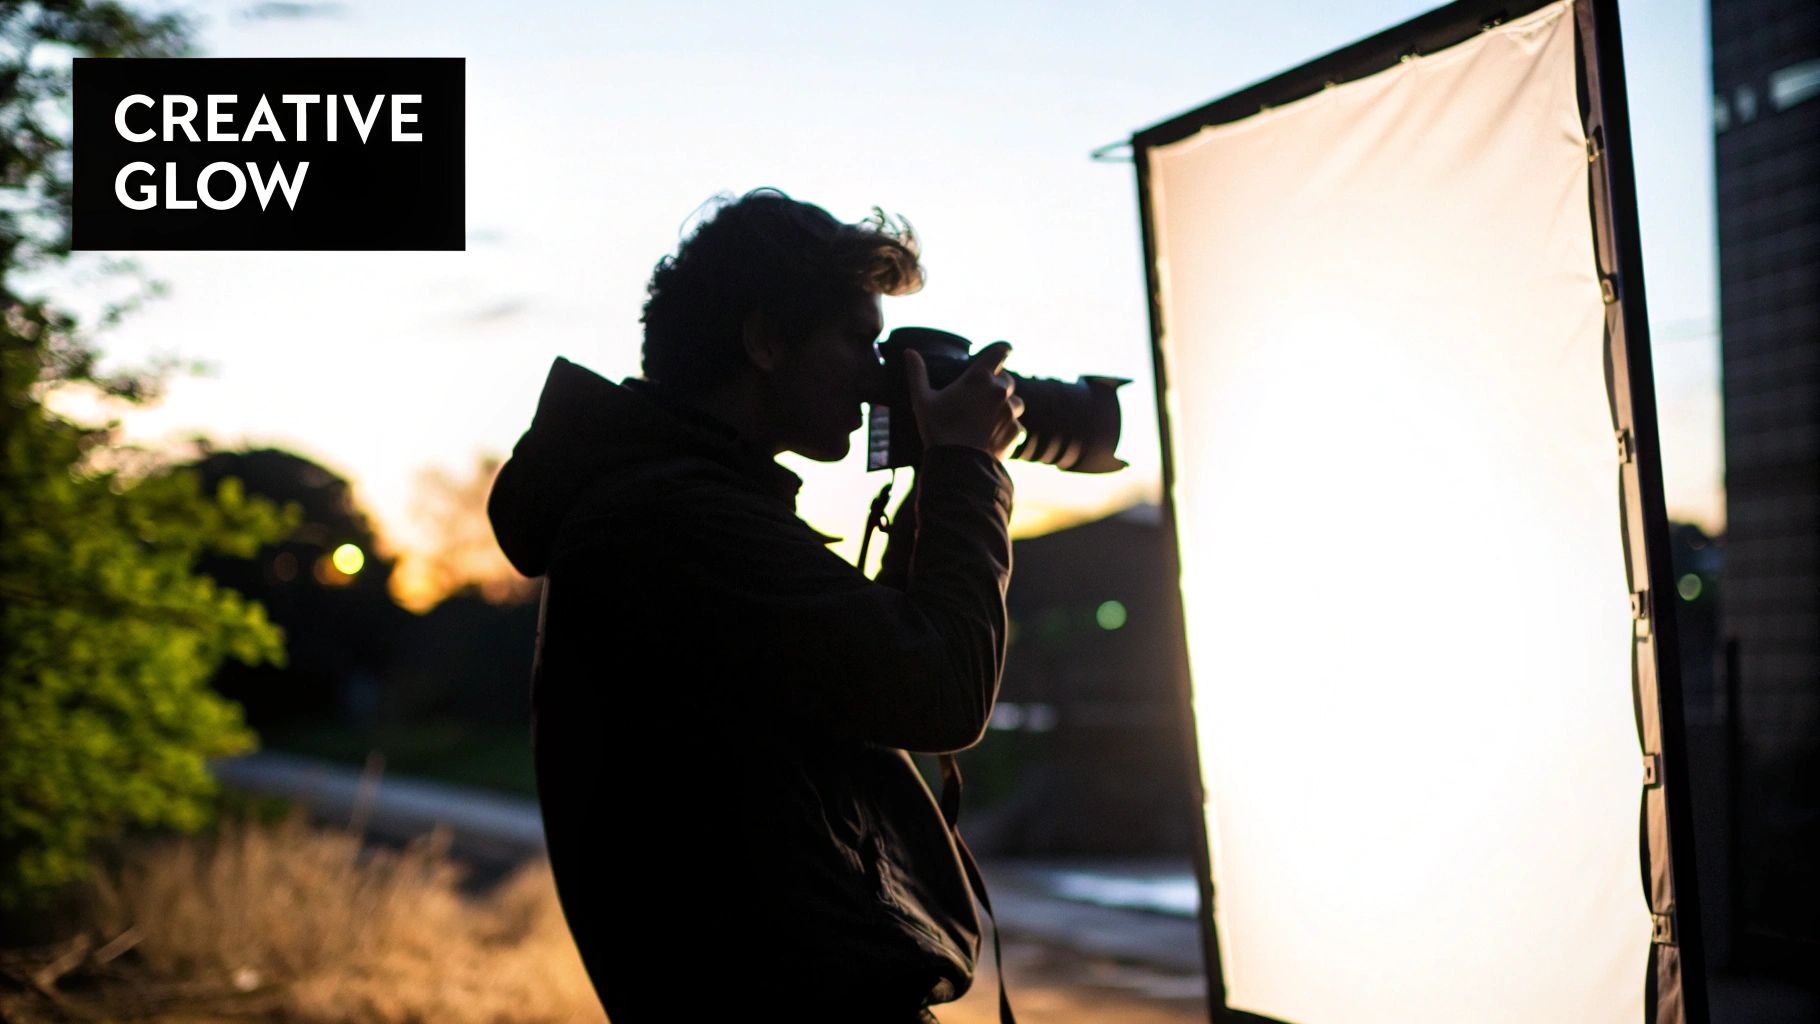
Once you've got the hang of one and two-light setups, the real fun begins. This is where you stop just illuminating a subject and start painting with light, turning it into an artistic tool to craft images that are uniquely yours.
Think of advanced lighting techniques as less about following rigid rules and more about creative experimentation. These are the methods that let you inject cinematic color, draw glowing lines in mid-air, and completely command the mood of a scene.
Let's break down a few powerful techniques that will make your work stand out.
How to Create Images with Light Painting
Light painting feels like pure magic. You’re literally drawing inside your photograph using a light source while the camera’s shutter is open for a long time. It might feel like a modern trick, but the concept has been around for ages.
Believe it or not, one of the earliest documented uses was way back in 1914. Frank and Lillian Gilbreth used small lights on workers to track their motion during long exposures, all in the name of studying efficiency. You can dive deeper into its surprisingly long history in this light painting history guide.
Today, we use it for art—creating hypnotic swirls, writing with light, and leaving ethereal trails that defy reality.
Step-by-Step Light Painting Tutorial
- Find the Dark: You need a spot with almost zero ambient light. A pitch-black room, an open field on a moonless night, or even a dark garage will do the trick.
- Lock Down the Camera: A sturdy tripod is non-negotiable. Any camera shake will turn the entire scene into a blurry mess, not just your light trails.
- Dial In Your Settings: Go full Manual mode. A good starting point is a low ISO (100-200), a narrow aperture like f/8 or f/16 to keep things sharp, and a long shutter speed of 15-30 seconds. For anything longer, use Bulb mode.
- Focus Manually: Your autofocus will be useless in the dark. Shine a flashlight on your subject, lock in your focus manually, then switch the flashlight off.
- Start Painting! Hit the shutter button and start moving your light source. This could be anything from a simple flashlight or an LED wand to the screen of your phone. Move through the frame until the shutter closes, and then check out your creation.
How to Use Colored Gels for Cinematic Moods
Colored gels are one of the best-kept secrets for photographers on a budget. These simple, transparent sheets of color go over your light source and can instantly transform a scene’s mood. They're cheap, effective, and the key to creating everything from the cool, futuristic blues of a sci-fi movie to the warm, nostalgic orange of a perfect sunset.
Step-by-Step Guide to Using Gels
- Pick Your Palette: Choose colors that work well together. The classic "teal and orange" combo is a Hollywood favorite for a reason—it just works.
- Attach the Gels: You can use gaffer tape or buy specialized gel holders that clip right onto your flash or strobe. Just make sure they're secure.
- Position Your Lights: Think in layers. Use one color for your main (key) light and a different one for a rim or background light. A classic setup is to light your subject with a CTO (Color Temperature Orange) gel from the front and hit them with a CTB (Color Temperature Blue) gel from behind.
- Set Your White Balance: Here’s the pro trick: set your camera’s white balance to match one of your gels (e.g., Tungsten for a CTO gel). This neutralizes that light's color and makes the other color in your scene pop with incredible intensity.
- Balance the Power: Adjust the brightness of each light individually. You usually want your rim or background light to be a little less powerful than your key light to create a subtle, three-dimensional effect.
If you're hunting for more ways to get creative, our guide on unique photography ideas is packed with inspiration.
Key Takeaway: The secret to making gels look professional is separation. Using different colors on your subject and the background is what creates that visual depth and makes your images leap off the screen.
Mastering High-Key and Low-Key Lighting
High-key and low-key aren't about specific gear setups; they're philosophies for controlling mood with brightness and shadow.
- High-Key Lighting: This approach creates bright, cheerful, and airy images with minimal shadows. The feeling is optimistic and clean, which is why you see it so often in beauty, commercial, and product photography. You achieve this look by flooding the scene with light from multiple sources to fill in nearly every shadow.
- Low-Key Lighting: This is the complete opposite. It’s all about drama, mood, and mystery. Low-key images are dark and full of deep shadows, with high contrast that carves out the subject. It’s often done with just a single, hard light source against a dark backdrop—perfect for intense, cinematic portraits.
Got Questions About Lighting? We've Got Answers.
Once you start getting serious about light, you'll inevitably run into a few head-scratchers. It happens to everyone. This little section is designed to be your quick-reference guide for those moments, tackling the most common questions and hurdles photographers hit along the way. Think of it as your personal troubleshooter for all things lighting.
What's the Real Difference Between Hard and Soft Light?
It all boils down to one thing: the shadows.
Think about the sun on a bright, cloudless afternoon. It’s a tiny point of light in the sky, and it creates hard light. This gives you those crisp, well-defined shadows and a ton of contrast. It’s perfect when you’re going for a dramatic, high-impact, or edgy vibe.
Now, picture that same sun, but on a day with heavy cloud cover. Those clouds are acting like a giant, natural softbox, spreading the light out. This is soft light. It wraps around your subject, creating gentle, feathered shadows and a much more flattering, low-contrast look.
Pro Tip: You can soften any light source just by making it bigger in relation to your subject. Bouncing your flash off a huge white wall or popping a diffuser in front of it are two of the easiest ways to turn harsh, hard light into beautiful soft light.
What Are the Best Camera Settings for Studio Flash?
When you step into the studio and start working with strobes, there's a specific, repeatable formula for your camera settings. The whole idea is to let the flash control the exposure, not the ambient light.
Here’s your go-to starting point:
- Flick your camera into Manual (M) mode. No shortcuts here—you need full control.
- Drop your ISO to 100. Using the lowest native ISO gives you the cleanest, sharpest image possible.
- Set your shutter speed to your camera's sync speed. This is usually around 1/200s or 1/250s. This is the magic number that’s fast enough to kill the ambient light but slow enough to "catch" the full burst of the flash.
- Pick an aperture to start. A good middle-of-the-road aperture like f/8 is a great place to begin. This will be your main dial for controlling how much of the flash's light hits your sensor.
Take a test shot. If it's too dark, you can either open up your aperture (to f/5.6, for example) or dial up the power on your flash. Too bright? Stop down your aperture (to f/11) or turn the flash power down. Your ISO and shutter speed should stay put.
When Should I Grab a Speedlight Instead of a Studio Strobe?
Deciding between a speedlight and a studio strobe is all about weighing power against portability. One isn't inherently "better" than the other; they’re just different tools for different jobs.
A speedlight is your best friend when you need to be nimble and quick. It’s small, lightweight, and perfect for on-location shoots, weddings, events, or any situation where you're on the move.
A studio strobe, on the other hand, is the heavyweight champion of power and control. You'll want a strobe when you need to overpower the midday sun, when you need super-fast recycle times for action shots, or when you absolutely need a modeling light to see exactly how the shadows are falling before you click the shutter.
How Do I Get Rid of That Annoying Glare on Glasses?
Ah, the dreaded glasses glare. We've all been there. It’s a common problem caused by a direct reflection of your light source bouncing right back into your lens. The fix is all about angles—think of it like playing pool. You just need to change the position of your light so the reflection bounces away from your camera.
Here's the simple playbook to kill that glare:
- Go high. The easiest fix is almost always to raise your main light source and angle it down at your subject. This sends the reflection downwards, completely missing your lens.
- Move it to the side. If raising the light doesn't quite do it, try shifting it further to the left or right. This changes the horizontal angle of the reflection.
- Get your subject to adjust. A tiny change can make a huge difference. Ask your subject to tilt their head down just a fraction or turn slightly away from the light. That little movement is often all it takes to make the glare vanish.
Ready to create stunning visuals without the hassle of a physical photoshoot? At AI Photo HQ, we provide a powerful platform to generate realistic, high-quality images for any project. Whether you need professional headshots, dynamic product photos, or creative social media content, our AI-driven tools make it simple and fast. Explore a world of endless visual possibilities and start creating today.

