
Before you can fix a blurry photo, you have to play detective for a moment. Figuring out why it's blurry is the first and most important step.
Was it motion blur, camera shake, or just a simple missed focus? Knowing the culprit helps you pick the right tool for the job and gives you a much better shot at getting a sharp, clear image.
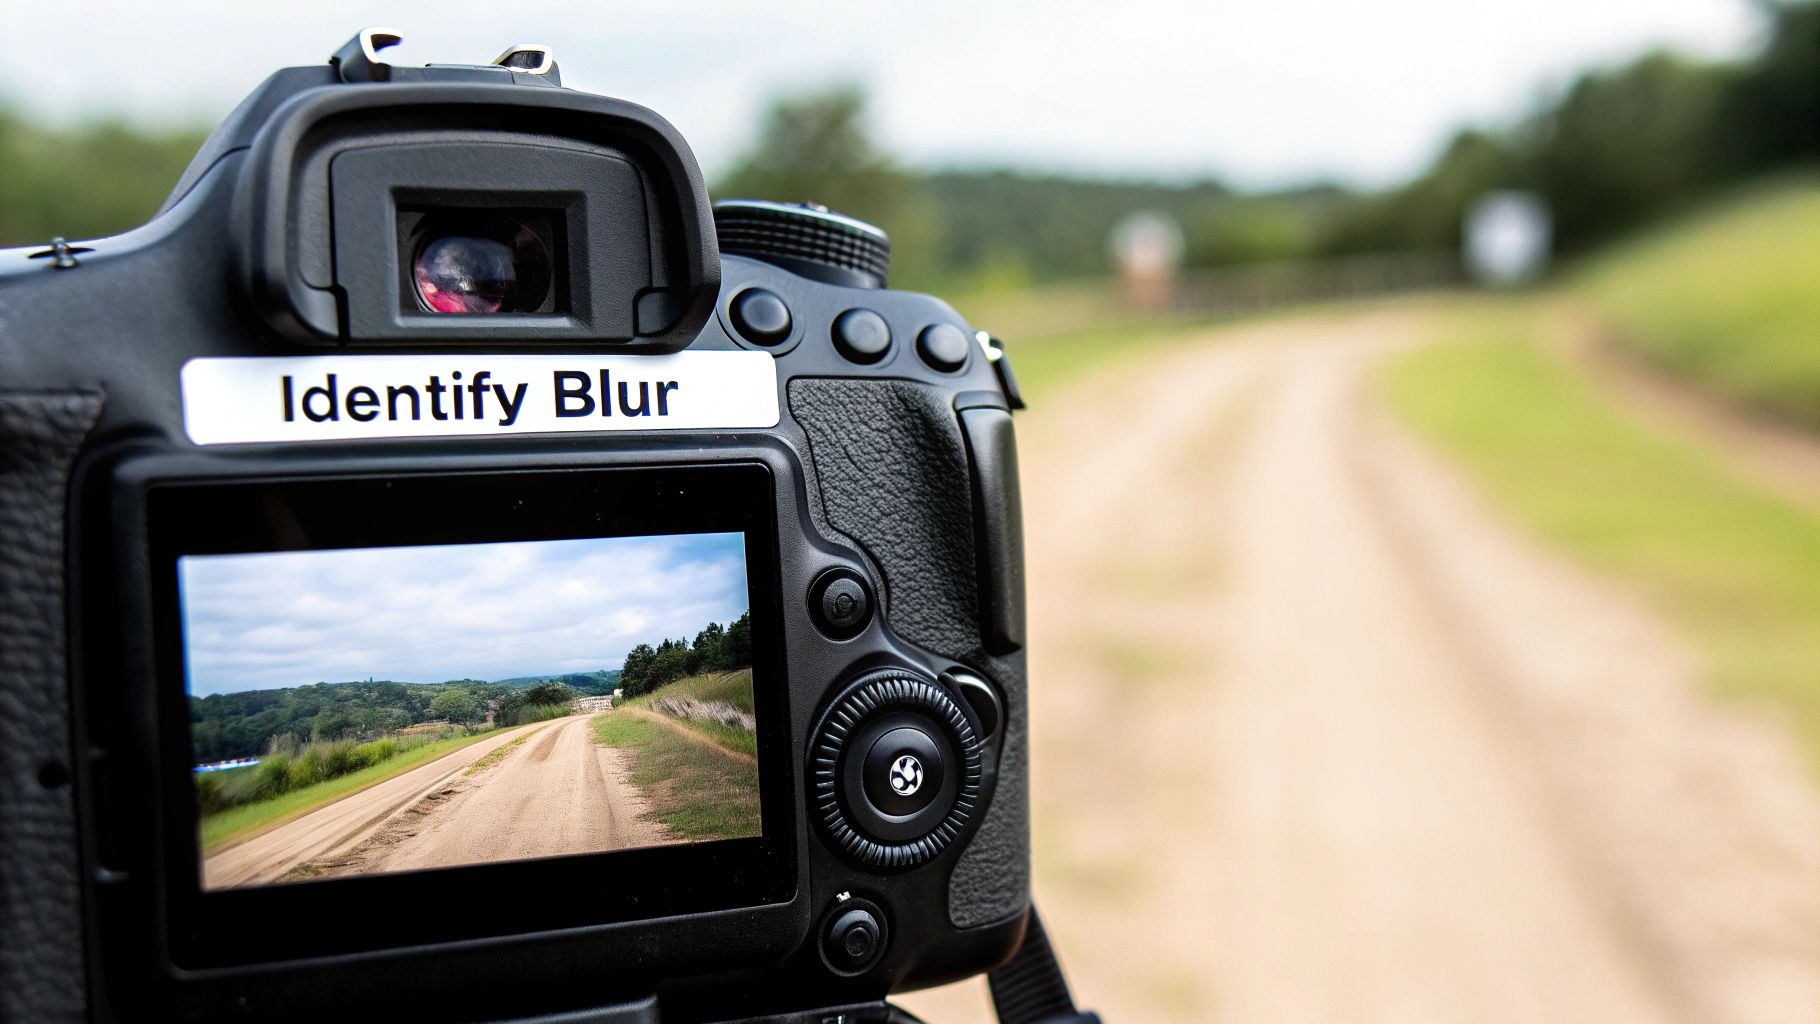
Understanding Why Your Photos Are Blurry
Ever tried to get a cool action shot of your dog catching a frisbee, but all you got was an abstract smear of fur and plastic? That’s a textbook case of motion blur. It’s what happens when your subject is moving faster than your camera's shutter speed can handle, smudging all the details in the process.
Then there's the sneaky issue of camera shake. This happens when your hand isn't perfectly steady, especially when you're shooting in low light. The camera uses a slower shutter speed to let more light in, but even the tiniest twitch of your hand can turn the entire photo into a soft, uniformly fuzzy mess where nothing is truly sharp.
For a deeper dive into how shutter speed and light play together, our guide on essential https://aiphotohq.com/blog/2025/09/lighting-techniques-in-photography is a great resource.
Identifying the Blur Type
Finally, sometimes it’s just a simple focus error. This is when your camera decides the tree behind your friend is way more interesting than their face, leaving your actual subject looking soft and out of focus. You’ll know this is the problem when one part of the image is tack-sharp, but it’s the wrong part.
Pinpointing the type of blur is critical because each one needs a slightly different fix.
- Motion Blur: This calls for a smart tool that can actually reconstruct the details that were lost when the subject moved.
- Camera Shake: You'll need a solution that can reverse that subtle, all-over fuzziness.
- Focus Error: This benefits most from selective sharpening that can pull your subject back into the spotlight.
The great news? Modern AI tools are built to handle all of these problems. They go way beyond old-school sharpening filters that just create harsh, ugly edges. Instead, AI algorithms analyze the image, identify the type of blur, and intelligently rebuild the missing details.
This kind of tech is at the core of a booming industry. The global computational photography market is expected to rocket from USD 18.43 billion in 2025 to USD 41.77 billion by 2032, all thanks to AI's incredible ability to perform these digital rescues.
You can get a closer look at these trends in this detailed industry report. This explosive growth means the tools we have to clear up blurry photos are only going to get more powerful.
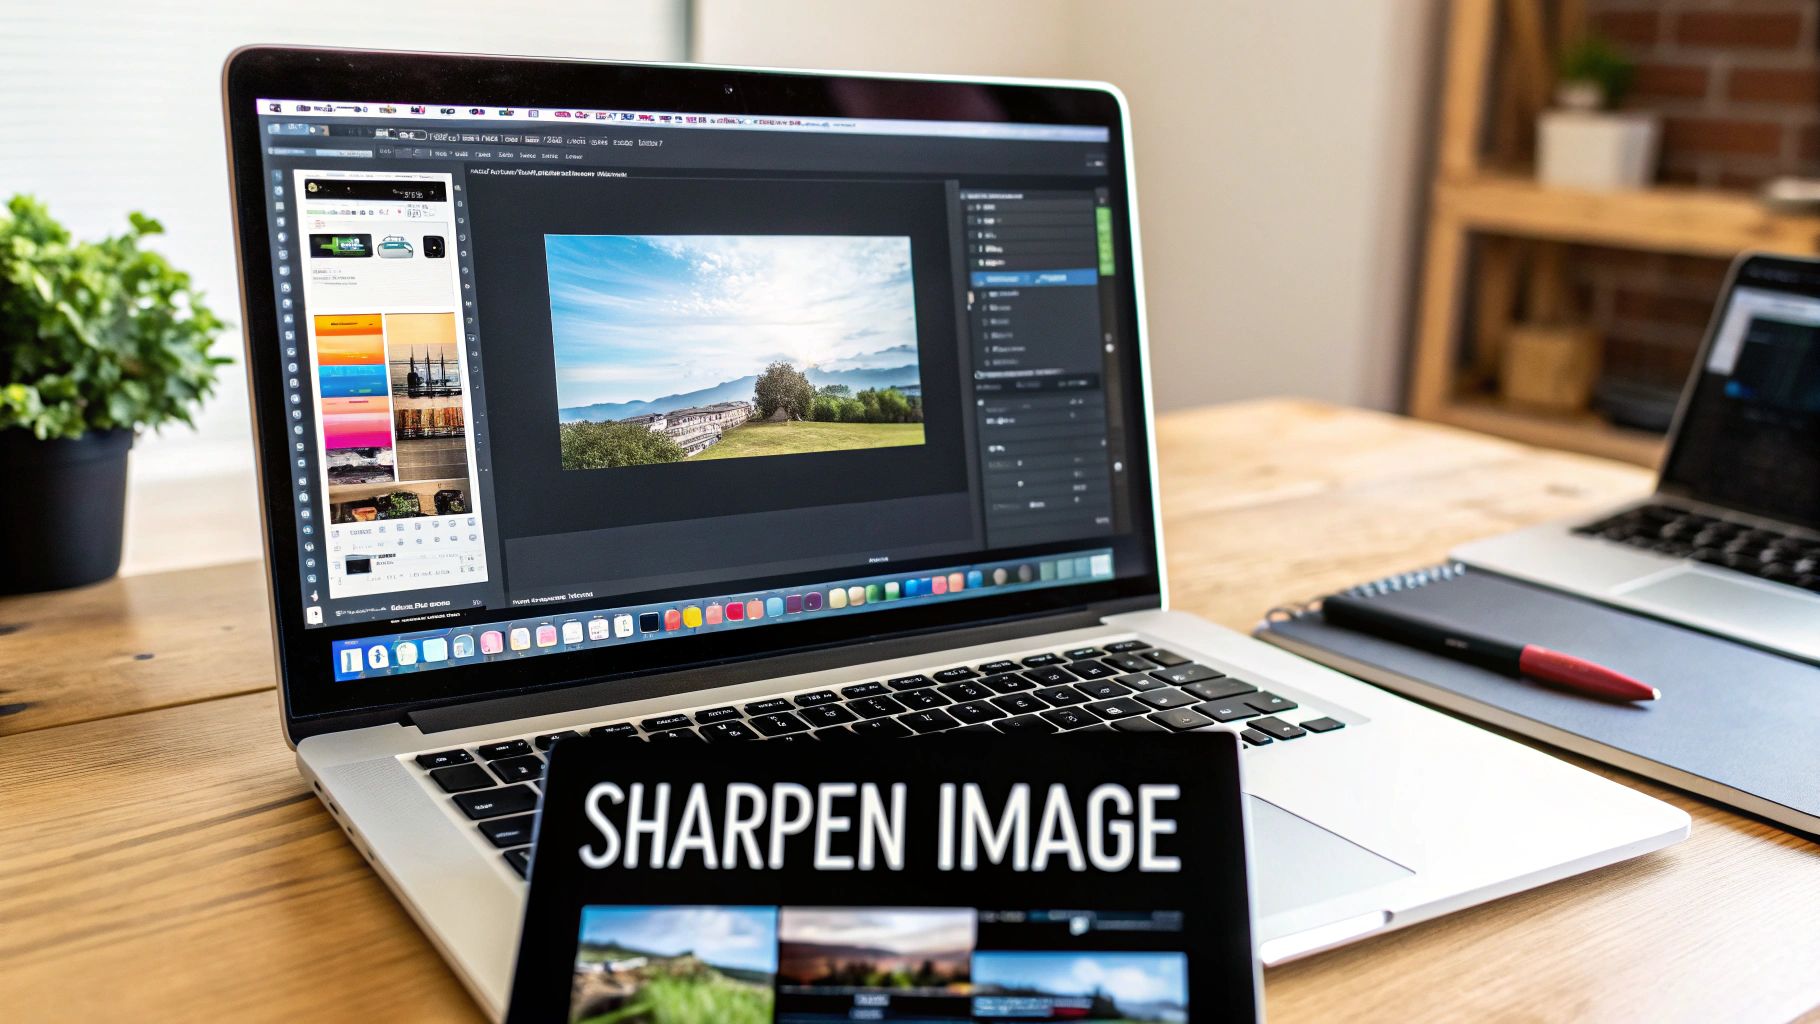
Using AI Photo HQ to Fix Your Blurry Photos
That blurry photo you almost deleted? Don't give up on it just yet. With a tool like AI Photo HQ, you can bring a disappointing, fuzzy image back into sharp focus without needing to be a Photoshop wizard.
Let's walk through a step-by-step tutorial to rescue those memories.
Step-by-Step Guide: Fixing a Soft-Focus Portrait
Let's say you have a family portrait you adore, but it's just a bit soft. The focus isn't completely off, but it's missing that pop that makes a photo truly great. Here’s a practical guide on how to handle it in AI Photo HQ.
Step 1: Upload Your Image
Navigate to the AI Photo HQ website and upload your blurry portrait. The platform will immediately analyze the image and present you with a set of enhancement tools.
Step 2: Choose the Right Tool
For a photo that's just a little "soft" or slightly out of focus, the 'Sharpen' tool is your best starting point. This tool works by increasing the contrast along the edges of objects, making the whole image feel crisper. If your photo suffered from motion blur (like a person moving during the shot), you would choose the 'Deblur' tool instead, as it's designed to reconstruct lost details.
Step 3: Apply a Gentle First Pass
Select the 'Sharpen' tool and start with a low or medium intensity setting. The goal is to gently enhance the details, not create crunchy, over-processed edges. Click "Apply" and wait for the AI to process the image.
Step 4: Zoom In and Inspect the Details
After the first pass, zoom in to 100% to get a close look. Pay special attention to critical areas like the eyes, lips, and strands of hair. Do they look clearer and more defined?
Step 5: Make Small Adjustments
If the image still feels a little soft, you can apply the 'Sharpen' tool again at a low setting or slightly increase the intensity. It's always better to apply a gentle correction and build from there. Over-sharpening is a common mistake that can make an image look worse.
Step 6: Clean Up Digital Noise
Sharpening can sometimes emphasize digital "noise" or graininess. If you notice this, use the 'Denoise' function. Apply a light touch of noise reduction—just enough to smooth things out without wiping away the fine details you just worked to recover.
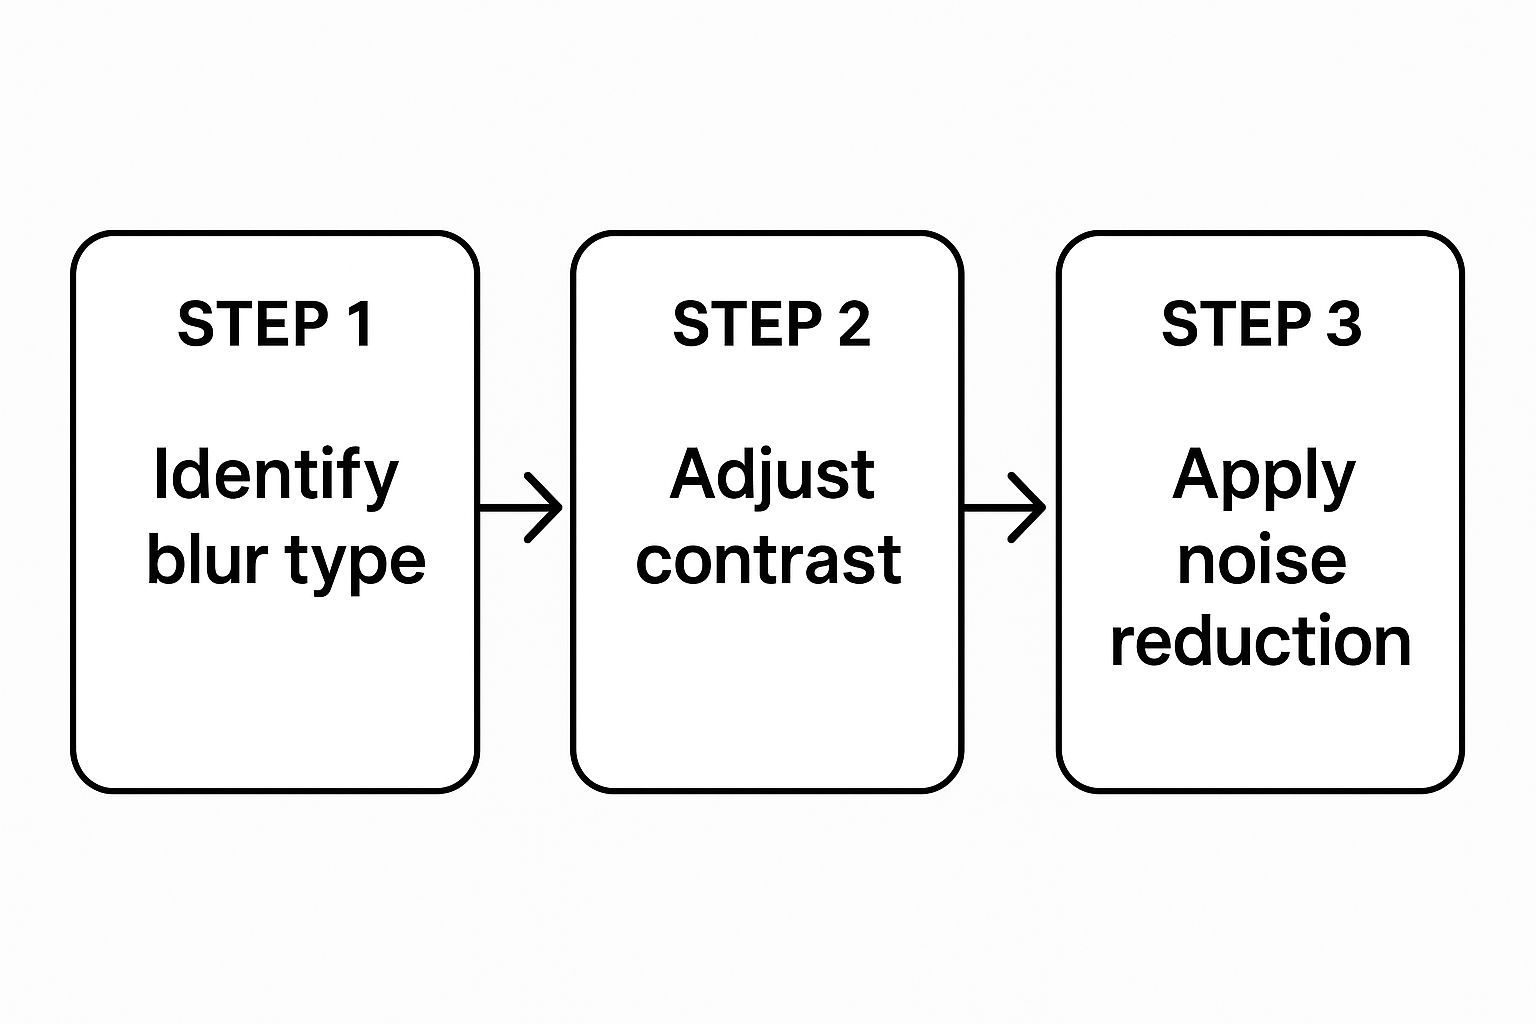
This infographic gives you a quick visual of the workflow.
Step 7: Compare and Save
The last thing to do is slide the before-and-after viewer back and forth. This is the most satisfying part! It gives you instant feedback and shows you just how much you’ve improved the image. What was once a soft, slightly disappointing portrait is now a sharp, clear memory you'll be proud to share. The whole process often takes less than a minute.
Using Advanced AI Features for Perfect Clarity
Sometimes a simple one-click fix just won't cut it. To really get professional-level results and turn a decent recovery into an exceptional one, you need to dive into the more advanced features. This is especially true when you’re trying to clear up a blurry photo that has multiple things wrong with it at once.
Think about it—you don't always want the entire image to be tack-sharp. A great portrait, for example, usually has a crisp, clear subject set against a beautifully soft, out-of-focus background. Many AI tools are smart enough to automatically detect the main subject, letting you apply sharpening only where it truly matters. This selective adjustment is a game-changer for creating natural-looking edits.
Tutorial: Restoring an Old, Scanned Family Photo
Let's walk through a tough but common scenario: restoring an old, scanned family photo. These images are often a triple threat—they're blurry from age, grainy from the original film, and might have a low resolution. Here’s a professional workflow to follow for the best results.
Step 1: Denoise First
Before you do anything else, tackle the film grain or digital noise. If you try to sharpen a noisy image, you’ll just end up sharpening the grain, making it even more distracting.
- Action: Upload the scanned photo to an AI editor. Select the 'Denoise' tool.
- Tip: Start with a medium setting. Zoom in on a smooth area like a cheek or a plain wall to see if the grain disappears without making the image look plastic. Adjust the intensity until the grain is reduced but fine details remain.
Step 2: Deblur and Sharpen Second
With the noise out of the way, you can now focus on the blur. Use a 'Deblur' function to correct the core softness, then follow up with a light touch of 'Sharpen' to bring out those fine details.
- Action: Apply the 'Deblur' function to correct the overall softness. Then, use the 'Sharpen' tool on a low setting.
- Tip: Toggle the before/after view. The goal is clarity, not harshness. The photo should look like it was taken with a better camera, not like it was digitally altered.
Step 3: Upscale Last
If the original scan is small, your final step should be to increase its resolution. An AI upscaler will intelligently add new pixels based on the surrounding details.
- Action: Select the 'Upscale' tool. Choose a 2x or 4x multiplier depending on your needs.
- Tip: Upscaling works best on a clean, sharp image. That's why this is the last step. It uses the details you just recovered to create a high-resolution version that’s ready for printing or sharing.
This methodical approach ensures each correction builds cleanly on the last, leading to a much more natural and impressive restoration. For a deeper dive into these techniques, check out our guide on AI-powered image enhancement.
This level of control is exactly why these tools are becoming standard in professional workflows. In fact, a recent report showed that 58% of users now rely on AI to speed up their editing. The AI photo enhancement market is even projected to hit nearly USD 6.94 billion by 2033. You can learn more about these AI image statistics to see how pros are putting this tech to work.
Comparing AI Photo Enhancement Tools
Not all AI enhancers are built the same. Some are all-in-one powerhouses, while others specialize in one specific task. Understanding the differences can help you pick the right tool for your project.
| Tool Type | Primary Function | Best For | Example |
|---|---|---|---|
| All-in-One Suites | Denoise, sharpen, deblur, upscale, color correct | General-purpose photo restoration and enhancement. | AI Photo HQ, Topaz Photo AI |
| Specialized Denoise | Advanced noise and grain removal | Cleaning up images from old film or high-ISO digital shots. | DxO PureRAW |
| AI Upscalers | Increasing image resolution without losing quality | Preparing low-res images for large prints or displays. | Gigapixel AI |
| Creative Editors | AI-powered filters, effects, and object removal | Artistic edits, background replacement, and complex edits. | Adobe Photoshop (AI features) |
Choosing the right software often comes down to your specific needs. For most day-to-day blurriness or restoration tasks, an all-in-one tool is perfect. But for highly specific problems, a specialized tool might give you that extra edge.
Common Mistakes to Avoid When Sharpening Images
Using AI to clear up a blurry photo feels like magic, but it’s easy to go wrong. Knowing what not to do is just as critical as following the right steps. Steer clear of these classic blunders to get cleaner, more natural-looking results every time.
Going Way, Way Too Far
The number one mistake is over-sharpening. Cranking those sharpening sliders all the way up creates a harsh, artificial look that screams "edited."
- What to look for: Weird, bright outlines around subjects (called digital halos) and crunchy, over-processed edges.
- How to avoid it: Apply sharpening in small, subtle increments. Start low and only increase if necessary. Zoom in to 100% to check your work. Less is almost always more.
Getting Your Workflow Backwards
Another common error is sharpening an image before dealing with the basics like poor lighting or bad color. If you sharpen first, you’re just making those other problems more obvious.
Here's the professional workflow to follow:
- First, fix exposure and color. Before touching sharpness, adjust the brightness, contrast, and color balance to get a solid foundation. You can't build a sharp image on a poorly exposed base.
- Second, remove noise. If the image is grainy, use a denoise tool next. Sharpening grain makes it look worse.
- Third, apply deblurring and sharpening. Once the light, color, and noise are dialed in, you can focus on clarity. This way, you're enhancing the photo's actual details.
Remember that sharpening an image doesn’t add new information; it enhances the details that are already there. If the core of your image is flawed by bad exposure, sharpening will only make those flaws more obvious.
Setting Realistic Expectations
Finally, you’ve got to be realistic. As powerful as modern AI is, it can't perform miracles. Some photos are just too far gone to be saved. If an image is wildly out of focus or has severe motion blur, the original details might be lost for good.
The goal when you clear up a blurry photo is restoration, not creation from scratch. Understanding the limits of the tech will help you focus your energy on photos that have a real shot at recovery.
Exploring Other Tools for Photo Sharpening
While a dedicated solution like AI Photo HQ gives you an incredible mix of power and simplicity, it’s certainly not the only game in town. The world of photo editing is massive, with tools ranging from complex professional software to simple, one-tap mobile apps.
If you crave granular control, traditional desktop programs like Adobe Photoshop are still the top dogs.
Manual Control vs. AI Automation: A Photoshop Example
One of the most classic methods in Photoshop is the Unsharp Mask filter. Don't let the name fool you—its entire purpose is to sharpen an image. Here’s a quick tutorial on how it works.
- Open your image in Photoshop and duplicate the background layer (Ctrl+J or Cmd+J). This way, you're editing non-destructively.
- Go to Filter > Sharpen > Unsharp Mask. A dialog box with three sliders will appear.
- Adjust the sliders:
- Amount: This is the strength. Start around 100-150% for screen images.
- Radius: This controls the width of the sharpened edges. A low value (1-3 pixels) is usually best to avoid halos.
- Threshold: This tells the filter to ignore minor details, preventing it from sharpening noise. A setting of 2-10 usually works well.
- Preview the result by checking and unchecking the "Preview" box. When you're happy, click OK.
The real trade-off here is control versus convenience. Manual tools like Unsharp Mask put you in the driver's seat, but they come with a learning curve. AI tools flip the script by analyzing the image and making those decisions for you, delivering faster results with way less effort.
For those just starting out, checking out a beginner's guide to wedding photo editing software can lay a solid foundation.
Sharpening on the Go with Mobile Apps
Sometimes you just need a quick fix right on your phone. Thankfully, the mobile app market is flooded with powerful options. A perfect example is Remini, which has exploded in popularity for using AI to fix everything from motion blur to focus errors, especially with faces. As of 2025, Remini was reportedly pulling in around $900,000 in revenue, showing the massive demand for effective, easy-to-use mobile solutions.
Whether you go for a desktop powerhouse or a slick mobile app, the right tool really depends on your needs. If you're looking to not only sharpen but also increase image size, you might find our article on using an online image upscaler pretty helpful.
Some Common Questions About Fixing Blurry Photos
When you dive into restoring photos, a few questions always seem to pop up. Here are some no-nonsense answers to the things people ask most when trying to unblur a photo.
Can AI Really Fix Any Blurry Photo?
While modern AI is incredibly powerful, it's not a miracle worker. It does an amazing job with moderate motion blur, soft focus, and minor camera shake because it's smart enough to reconstruct the missing information.
But every photo has a point of no return.
If an image is a complete, soupy blur or extremely out of focus, the original details are just gone. The AI can’t rebuild what isn’t there to begin with. Think of it less like a magician and more like a brilliant art restorer—it works wonders on salvageable pieces, but it can’t invent details from thin air. For the best shot at success, always start with the highest-resolution version of the photo you have.
Does Sharpening an Image Make It Look Worse?
If you do it right, sharpening should actually make your photo look better. The problem is that old-school sharpening filters were pretty clumsy. They just cranked up the contrast on edges, which is why you’d get those awful, artificial-looking halos and harsh lines. AI deblurring is a whole different ballgame.
The real difference is that AI tries to reconstruct the lost detail, not just fake it by pumping up edge contrast. The danger is overdoing it. If you crank the intensity sliders to the max, you’ll end up with an unnatural, overly digital look. My advice? Always zoom in to 100% to check the details and go for a result that looks naturally sharp, not forced.
What’s the Difference Between Sharpening and Deblurring?
They sound similar, and good software often uses both, but sharpening and deblurring are two very different tools for two very different problems.
- Deblurring: This is the heavy lifting. It’s a complex process that aims to reverse what went wrong when the picture was taken, whether it was motion or a focus issue. The AI analyzes the blur patterns to rebuild details that got smeared or softened.
- Sharpening: This is more of a finishing touch. It works by increasing the contrast along the edges of objects in the photo. This creates the illusion of more sharpness, but it doesn't actually fix the root cause of the blur.
Most advanced tools, including AI Photo HQ, intelligently combine deblurring, sharpening, and even denoising (which gets rid of digital grain) to deliver a completely restored and polished final image.
Ready to see what AI can do for your photos? With AI Photo HQ, you can transform blurry, forgotten images into sharp, vibrant memories in just a few clicks. Try it now and bring your pictures back to life!
Get Started with AI Photo HQ

