Ever wonder how those incredible AI images you see online are made? It's not magic, but it feels pretty close. At its core, AI image generation is about turning your words—what we call "prompts"—into completely new visuals.
You just type out what you want to see, and a powerful AI model gets to work, creating a unique image based entirely on your instructions. It's a fascinating blend of your own imagination and the AI's creative engine.
So, How Does This Actually Work?
Let's dive into the creative side of AI image generation. We'll skip the heavy technical talk and focus on what you actually need to know to start making stunning visuals yourself.
The whole thing starts with an idea in your head. You then translate that idea into a descriptive text prompt and feed it into a tool like AI Photo HQ. The AI takes your words, sifts through its massive library of visual data to find matching patterns, styles, and objects, and then pieces together a brand-new image just for you.
If you're curious about the technology that makes all this possible, you can get a great overview in our guide on what is generative AI.
Before we jump into the nitty-gritty of writing prompts, it's helpful to get familiar with some of the lingo. You'll see these terms pop up often.
Key Terms for Generating AI Images
Here's a quick reference table of essential terms you'll encounter on your AI art journey and what they mean in practice.
| Concept | What It Means for You |
|---|---|
| Prompt | This is the text description you write to tell the AI what image to create. It's your primary creative tool. |
| Negative Prompt | A list of things you don't want to see in the image. Great for removing unwanted elements or styles. |
| Seed | A number that acts as the starting point for the image generation. Using the same seed with the same prompt creates the same image. |
| Model | The specific AI you're using. Different models are trained on different data and have unique artistic styles. |
| Aspect Ratio | The width-to-height ratio of your image (e.g., 16:9 for widescreen, 1:1 for a square). |
Think of these terms as your basic toolkit. Understanding them will make the whole process much more intuitive.
The Basic Creative Workflow
Let's break down the journey from a simple idea to a finished AI image into a practical, three-step tutorial.
- Step 1: Brainstorm Your Concept. Get a clear picture in your head. For this example, let's imagine a "photorealistic shot of a futuristic city at night."
- Step 2: Write Your First Prompt. Translate your idea into words. Start simple:
"A futuristic city at night." - Step 3: Generate and Observe. Enter that prompt into the generator and see what you get. The result might be good, but it's likely generic. Now we refine.
This process has become incredibly accessible. Not long ago, creating high-quality digital art demanded years of skill and expensive software. Today, anyone with an idea can generate powerful visuals in just a few seconds.
This has opened up a world of creative possibilities for marketers, artists, designers, and hobbyists. The numbers back it up, too—the AI image generator market is expected to rocket from USD 9.10 billion in 2024 to a staggering USD 63.29 billion by 2030. It's a clear sign that this technology is here to stay.
Key Takeaway: The quality of your final image is directly linked to the quality of your prompt. The more specific and descriptive you can be, the better your results will be. Learning to communicate your vision to the AI is the real secret to creating amazing art.
Choosing Your AI Art Tool and Getting Started
Before you can bring any ideas to life, you’ll need a creative workspace. The AI art tool you pick really does shape your experience, turning what could be a headache into a genuinely fun process. There are a ton of options out there, each with its own quirks and strengths, so the first real step is finding one that clicks with you.
If you're curious about what's under the hood, it's worth checking out some of the Top 5 AI Image Models that power these platforms. Understanding the core engine helps. We even have a deep dive comparing Stable Diffusion vs Midjourney if you want to get into the weeds of two of the biggest players.
For this guide, we're going to walk through the process using a straightforward tool like AI Photo HQ.
Setting Up Your Creative Space: A Quick Tutorial
Getting started is quick and painless. Here's a step-by-step guide to get you generating in minutes:
- Navigate to the website. Open your browser and go to AI Photo HQ.
- Sign Up. Look for the "Sign Up" or "Get Started" button. You can usually create an account with your email or link a Google account for a one-click setup.
- Land on the Dashboard. Once you’re in, you’ll see the main creation interface. This is your creative command center.
Pro Tip: Before you jump in, take a minute to poke around the dashboard. Find the main text input area (it's often called the "Prompt Box") and see where the menus are for styles, models, and image sizes. Getting a feel for the layout now will make everything much smoother when you start generating.
Navigating the Core Features
The dashboard might look a little busy at first glance, but you only need to know a few key elements to get going. These are the core pieces you'll use every single time you want to create an image.
- The Prompt Box: This is your most important tool. It's the simple text field where you'll type out your descriptions and ideas.
- Style and Template Selection: Look for a gallery or dropdown menu that lets you pick a visual style. Think ‘Photorealistic,’ ‘Anime,’ or ‘Fantasy Art.’ This gives the AI a powerful starting point.
- The Generate Button: Once your prompt is written and you’ve picked a style, this is the big button you press to watch your vision come to life.
This infographic gives you a quick visual breakdown of how your choice of an AI model impacts the final result.
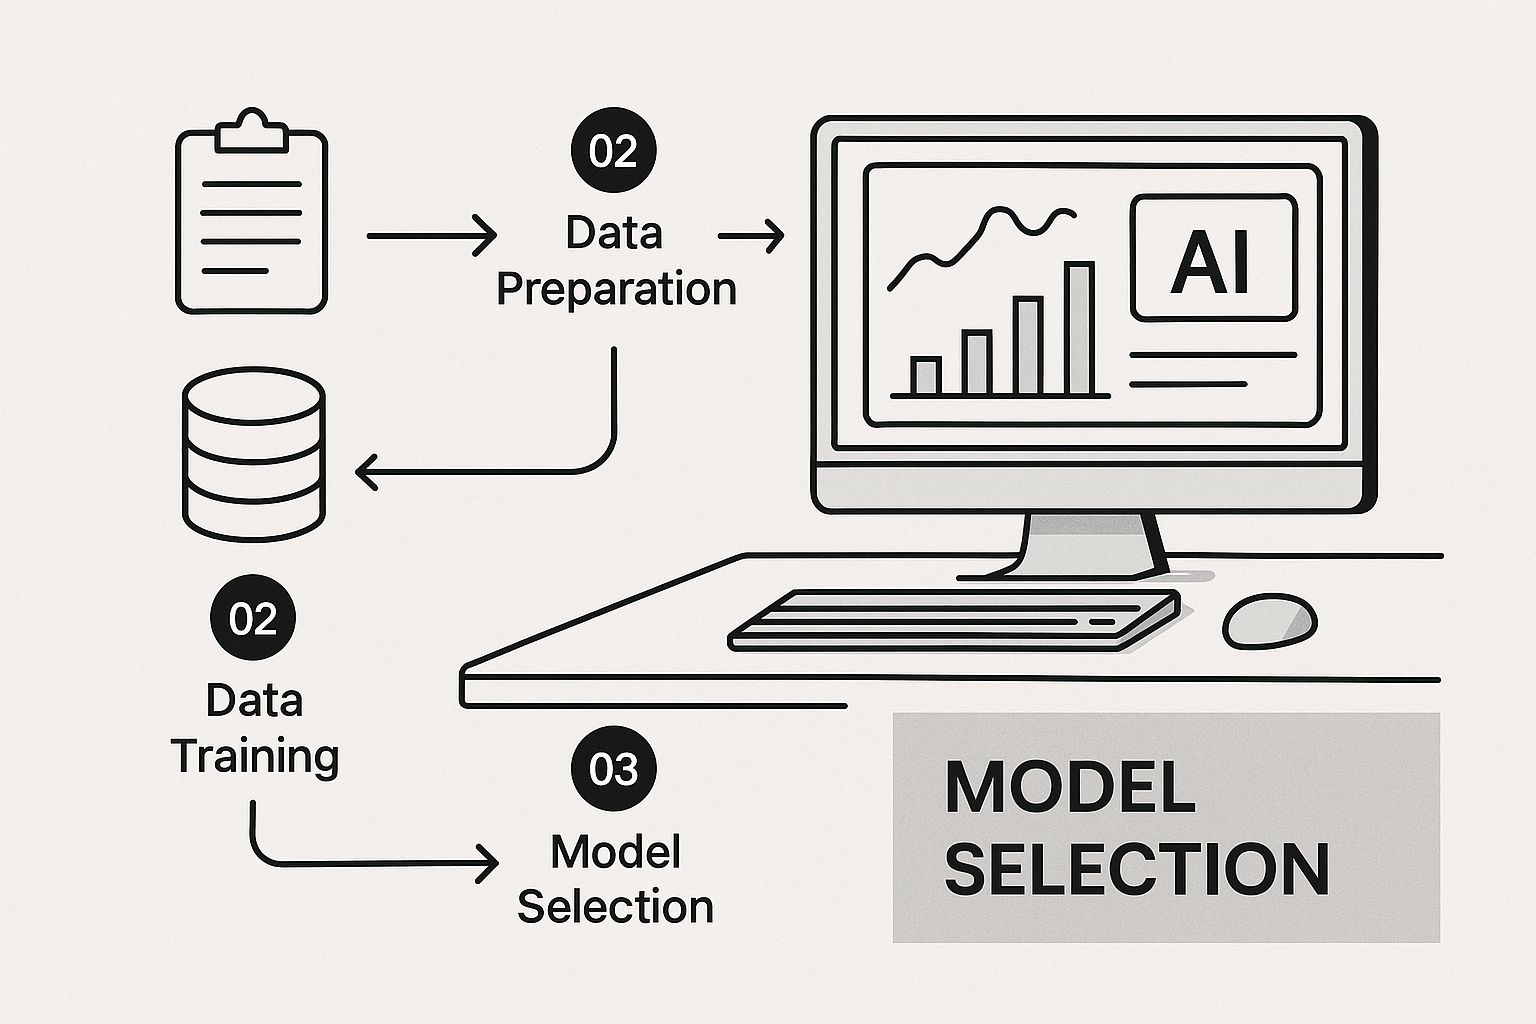
As you can see, the model you choose directly affects the aesthetic of your image. It’s one of the most important decisions you’ll make in the whole process.
Writing Prompts That Get Amazing Results
Your prompt is your direct line to the AI's imagination. It's hands-down the single most important part of getting an AI image you actually love.
Think of it this way: you're the art director, and the AI is your incredibly talented—but very literal—artist. Your job is to give it clear, precise instructions to get that masterpiece you're picturing in your head.
Let's start with a simple, real-world example and see how we can build on it.
A basic prompt might be something like: "a golden retriever on a beach"
This isn't a bad start, but it leaves a ton to the AI's interpretation. You might get a cartoon, a weird painting, or a blurry, low-quality photo. To get something truly stunning, we need to add layers of detail.
Building a Better Prompt Step by Step
Let's take that simple idea and evolve it into a powerful, detailed prompt. Follow this tutorial to see how each element guides the AI closer to your vision.
- Start with the Subject:
"a golden retriever" - Add an Action or Attribute:
"a golden retriever wearing cool sunglasses" - Define the Setting:
"a golden retriever wearing cool sunglasses, sitting on a sandy beach at sunset" - Specify the Style:
"Photorealistic shot of a happy golden retriever wearing cool sunglasses, sitting on a sandy beach at sunset" - Add Technical Details:
"Photorealistic shot of a happy golden retriever wearing cool sunglasses, sitting on a sandy beach at sunset, warm cinematic lighting, vibrant colors, hyperdetailed"
This "after" version tells the AI not just what to create, but how to create it. Trust me, the difference in the final image will be night and day.
Key Takeaway: Specificity is your best friend. Instead of "a car," try "a vintage red 1960s sports car." The more details you provide, the less the AI has to guess, which leads to more predictable and much higher-quality images.
Your Cheat Sheet of Powerful Keywords
Some words just work like magic spells on AI image generators. They instantly tell the model to aim for a higher standard of quality, and sprinkling them into your prompts is one of the fastest ways to level up your results.
This works because AI models are trained on massive databases of images. Through deep learning, they learn to associate certain words with specific visual qualities, like texture, lighting, and composition. If you're curious about the tech behind this, you can dig into market analysis reports on AI generators to see how it all works.
Here are some of my go-to keywords to add to your creative toolkit:
- For Realism:
photorealistic,8k,ultra-realistic,hyperdetailed,sharp focus. - For Lighting:
cinematic lighting,volumetric lighting,soft natural light,dramatic lighting. - For Art Styles:
in the style of anime,fantasy art,impressionist painting,cyberpunk,steampunk. - For Composition:
wide-angle shot,macro shot,close-up portrait,golden ratio.
The real fun begins when you start mixing and matching these. Try combining "close-up portrait" with "dramatic lighting" for an incredibly moody and professional-looking shot. Each keyword is another tool in your belt, giving you more creative control over the final picture.
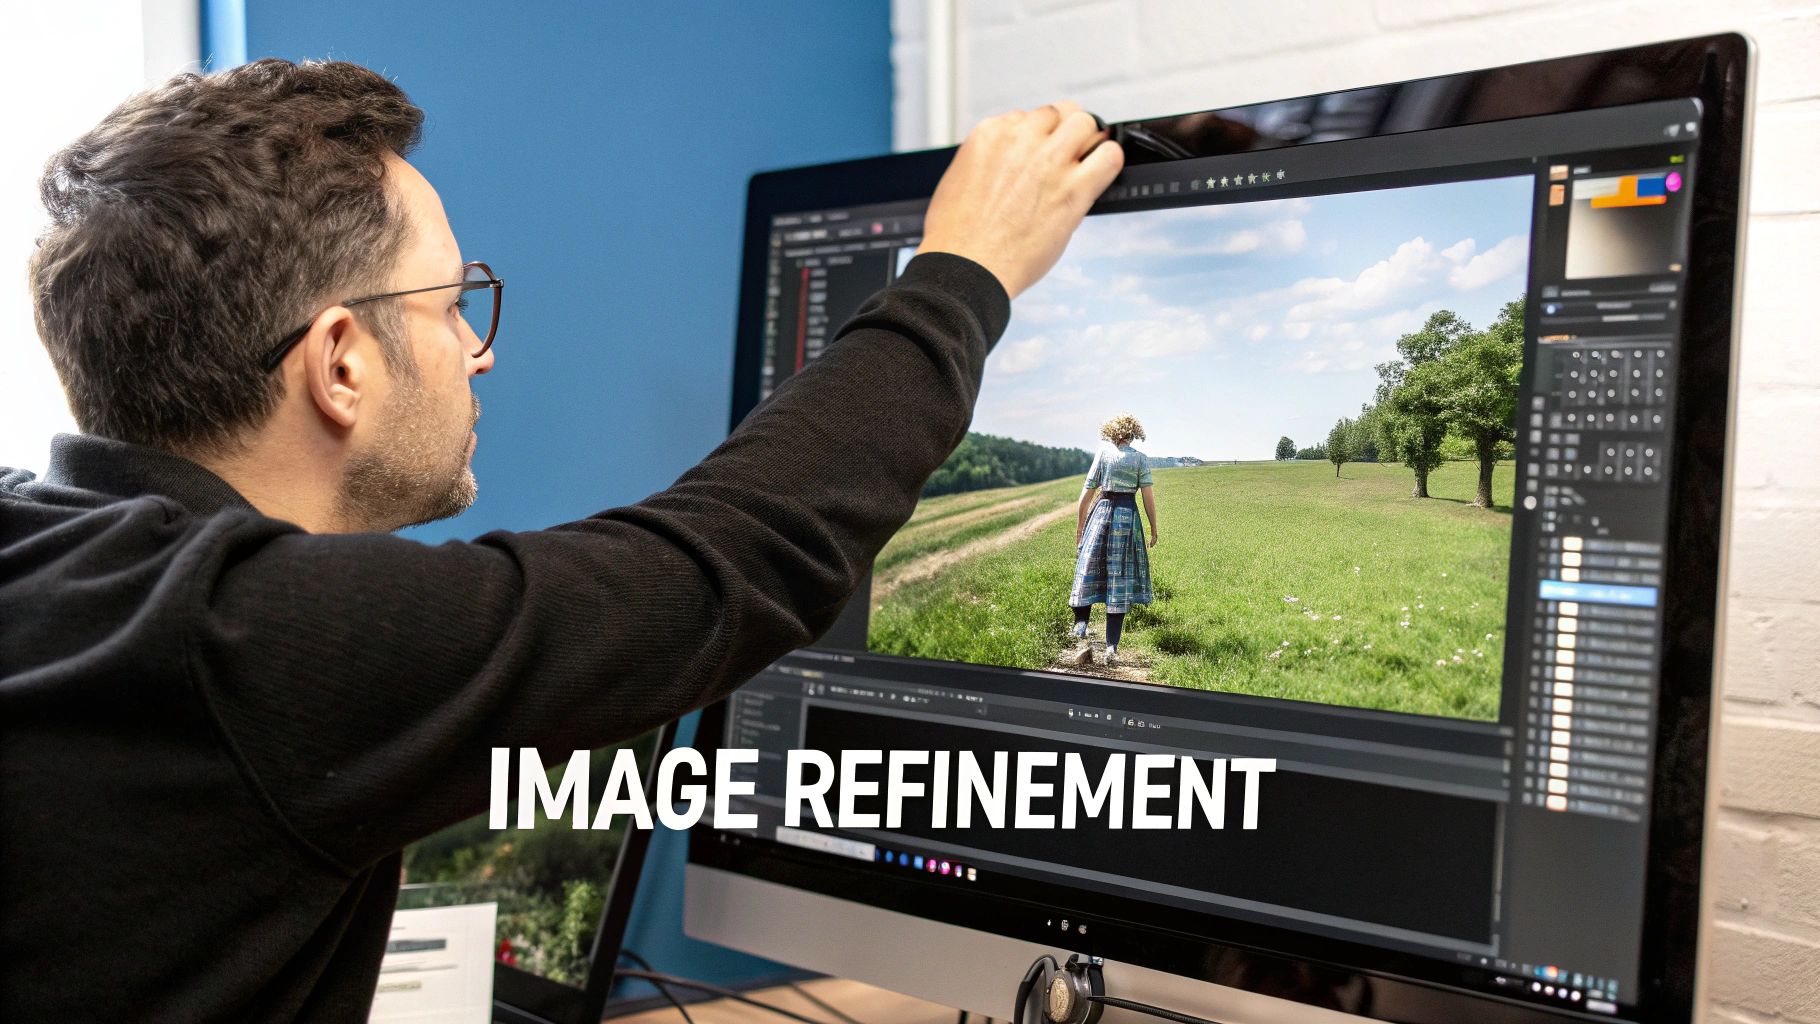
Polishing Your AI Images Until They’re Perfect
Let's be real: your first AI-generated image is almost never the final one. True mastery comes from iteration—the cycle of refining, tweaking, and guiding the AI until the image in front of you perfectly matches the vision in your head. This is where you cross the line from simply generating images to actually creating them.
Think of that first output as a rough draft. It might be 90% of the way there, but those last few tweaks are what separate a good image from a great one. This refinement process is a crucial skill for anyone learning how to create AI images that genuinely stand out.
This creative loop of generating and refining is a huge deal. It’s what’s fueling the explosive growth of the entire field. The global generative AI software market was valued at around USD 44.89 billion in early 2025, a massive jump from $29 billion just three years earlier. If you’re curious, you can dig into more of these generative AI statistics and their impact to see just how big this creative movement has become.
Use Negative Prompts to Erase Unwanted Elements
One of the most powerful tools in your arsenal is the negative prompt. This is where you tell the AI what you don’t want to see. Let's walk through a practical example.
Scenario: You generated a beautiful portrait, but the result looks too much like a cartoon.
Solution:
- Keep your original prompt the same.
- Find the "Negative Prompt" box.
- Type in keywords describing what you want to avoid, such as:
cartoon, anime, drawing, illustration. - Generate again. The AI will now actively steer away from those styles, giving you a more realistic result.
Common negative prompts to fix problems include:
- Fixing mangled hands:
--no malformed hands, extra fingers - Getting rid of gibberish text:
--no text, words, signature - Avoiding a certain look?
--no cartoon, anime
This gives you almost surgical control, letting you subtract the stuff you don’t want without having to re-roll your entire image.
Pro Tip: I keep a running list of my go-to negative prompts. Things like "blurry," "low quality," and "watermark" are great to add to almost any prompt to get a cleaner, more professional result right from the start.
Fix Specific Problems with Inpainting
But what if only one tiny part of the image is off? Maybe you’ve generated the perfect portrait, but the eyes just look a little… strange. Regenerating the whole thing is a gamble—you could lose all the parts you love. This is exactly what inpainting was made for.
Here’s a step-by-step tutorial on how to use it:
- Identify the Flaw: You've generated a fantastic portrait, but one of the eyes is slightly distorted.
- Activate the Inpainting Tool: Inside AI Photo HQ, select your image and find an "Edit" or "Inpaint" option. A brush tool will appear.
- Mask the Area: Carefully paint a mask over the specific area you want to fix—in this case, just the wonky eye.
- Write a Corrective Prompt: In the prompt box, describe only what should be in the masked area. A hyper-focused prompt like
"beautiful realistic blue eye"is perfect. - Generate the Fix: The AI will now regenerate only the masked area, seamlessly blending the new, corrected eye into the original portrait.
This method is an absolute game-changer for perfecting details. It saves you from the frustration of endlessly regenerating an entire image just to fix one small flaw.
Using Advanced Prompting Techniques
Once you've got the hang of the basics, it's time to dive into the more advanced methods. This is where you really start to separate yourself from the casual creators and gain pinpoint control over your images. Think of it as the difference between giving general directions and handing over a detailed architectural blueprint.
This is exactly how you start creating AI images that are ready for professional use, whether for unique marketing assets, wild concept art, or just personal projects that genuinely pop. It’s all about telling the AI not just what to create, but how to prioritize every single element in the scene.
Control Emphasis with Prompt Weighting
One of the most powerful tools in your arsenal is prompt weighting. This technique lets you dial up or down the influence of specific words in your prompt. Here's a practical tutorial.
Goal: Create an image of a red car on a rainy street, but make the car the undeniable hero of the shot.
- Start with a Standard Prompt:
a red car on a rainy street - Identify the Key Element: The most important part is the "red car".
- Apply Weighting: Modify the prompt by putting the key element in parentheses and adding a value. The syntax is often
(text:value). For a 50% boost, you'd write:(a red car:1.5) on a rainy street - Generate and Compare: The new image will have a much stronger focus on the car, making it larger, more detailed, or more central to the composition.
On the flip side, you could use a value less than one, like (rainy street:0.7), to reduce its influence and push it into the background.
Insider Tip: When you're starting out, stick to small adjustments, maybe between 1.2 and 1.5. Cranking the values too high can sometimes lead to bizarre, distorted images as the AI over-focuses on one idea.
Blend Concepts for Unique Visuals
Going beyond just controlling single elements, you can start blending completely different styles and subjects together. This is where you can cook up visuals that are truly one-of-a-kind.
Here's a quick recipe for blending:
- Pick a Subject:
A photorealistic portrait of an astronaut - Pick a Style or Texture:
made entirely of swirling galaxies - Combine them into a single prompt:
"A photorealistic portrait of an astronaut made entirely of swirling galaxies"
More examples to get your ideas flowing:
- Style Blending:
A cyberpunk city skyline in the style of a Van Gogh painting - Thematic Blending:
An ancient stone library overgrown with bioluminescent mushrooms, steampunk aesthetic
This method definitely takes some experimentation, but the payoff can be huge. You can learn more about how different models handle these complex instructions in this comprehensive Stable Diffusion prompt guide.
Recreate Images with Seed Numbers
Ever generate that one perfect image, then spend the next hour trying to recreate something with the same vibe, only to fail? The fix for that is the seed number.
Here's how to use it for consistent results:
- Find a Great Image: Generate images until you get one you absolutely love.
- Locate the Seed Number: In the image details or metadata, find the "Seed" number. It's usually a long string of digits. Copy it.
- Reuse the Seed: In your generator's settings, find the "Seed" input field and paste the number there.
- Make Small Tweaks: Now, with the seed locked in, you can change small parts of your prompt (e.g., change
"happy golden retriever"to"sad golden retriever"). The AI will generate a new image with your change, but the overall composition, style, and lighting will remain remarkably similar.
Got Questions About AI Images? We’ve Got Answers.
As you start playing around with AI image generators, a bunch of questions are bound to pop up. It’s totally normal. This tech is moving at lightning speed, and everyone’s talking about things like image ownership and what you should or shouldn’t do.
Let’s clear up some of the most common questions. Getting these answers will help you create with more confidence and fewer headaches.
So, Who Actually Owns the Images I Make?
This is the big one, and the answer isn't always cut and dried. For most platforms, including AI Photo HQ, the images you generate are yours to use commercially. That means you're generally free to put them on your website, use them in marketing campaigns, or print them on a t-shirt.
But here’s the catch: the legal world is still playing catch-up with AI. Some services sneak clauses into their terms that grant them a license to use your creations, too.
The bottom line: Always, always read the terms of service of the tool you're using. It's a bit of homework, but it's the only way to know for sure what you can and can't do with your images.
Can AI Really Copy an Artist’s Style Perfectly?
In a word, yes. These models are trained on an unbelievable amount of data from the internet, which includes works from pretty much every artist you can name. You can ask for an image "in the style of Van Gogh," and the AI gets it—it knows the swirling brushstrokes, the bold colors, and the general vibe.
This capability has, understandably, kicked off a huge ethical debate. While it's an incredible way to find inspiration, directly mimicking a living artist's style for commercial gain is a pretty thorny issue and widely seen as bad form.
How Much Does This Actually Cost?
The price tag for generating AI images is all over the map. You’ve got a few different ways this usually plays out:
- Free Tools: Lots of places offer free trials or a limited number of free images. They're perfect for dipping your toes in the water, but you'll often hit limits on image quality, generation speed, or whether you can use the images for business.
- Credit Packs: This is a pay-as-you-go system. You buy a bundle of "credits," and each image you create uses up one or more of them. It’s a solid option if you only need to create images once in a while.
- Monthly Subscriptions: If you're creating images regularly, this is where you'll find the best bang for your buck. For a flat monthly fee, you get a ton of image generations. Plans often start around $29 per month and can give you thousands of images.
What Are the Biggest Flaws in AI Image Generators?
For all their magic, AI image generators still have some classic weak spots. The most infamous one? Hands. AI has a ridiculously hard time getting hands right, often spitting out images with six fingers, twisted palms, or just plain weirdness.
Text is another big hurdle. While the AI can paint a masterpiece, it often fails spectacularly when asked to write legible words inside the image. You'll usually get a garbled mess of letters that looks like an alien language.
Other known issues include wonky spatial awareness (like someone holding a coffee mug by the wrong end) and sometimes just producing bland, uninspired results if you don't give it a really juicy, detailed prompt.
Ready to jump in and see for yourself? With AI Photo HQ, we’ve made the whole process simple and powerful. You can explore a massive library of styles and templates to get exactly what you're imagining.

