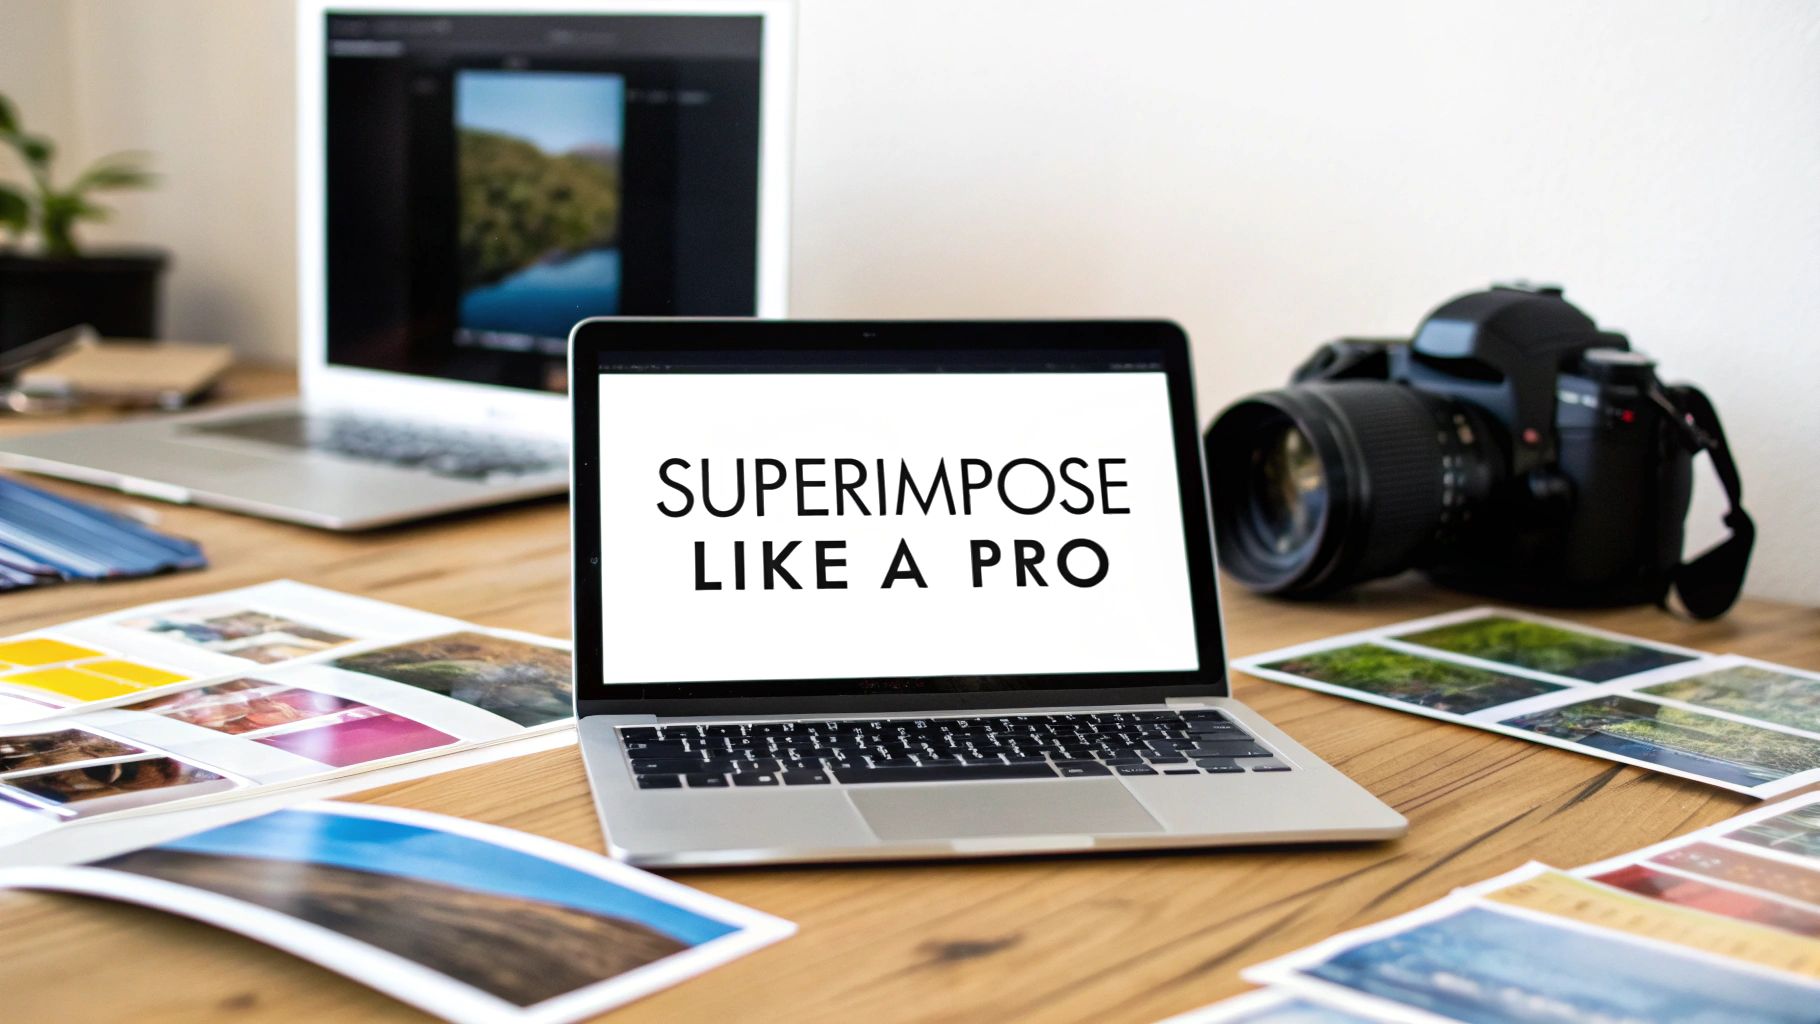
Knowing how to superimpose pictures is really about telling a new story by combining different images into one. You're essentially layering a foreground image over a background and blending them together. It could be as simple as adding a person to a beautiful landscape or creating a more artistic double exposure.
The real key? Making the final image look intentional and believable.
What It Really Means to Superimpose an Image

Before we jump into the "how," it helps to appreciate the art of it. Superimposing a photo is so much more than just slapping one picture on top of another. It’s a creative technique used to spark emotion, explain a complex idea, or just create something visually stunning.
It’s the magic that lets you place a product in a lifestyle setting it never actually was in, or build fantastical scenes that just don't exist in the real world.
Artists and advertisers have been doing this for decades. Think about a classic movie poster where the hero’s face is blended into a dramatic city skyline. Or an ad where a sleek car is perfectly placed on a winding mountain road it never drove on. These visuals work because they combine different elements to build a powerful narrative.
Simple Overlays vs. Complex Composites
On one end of the spectrum, you have simple overlays. This could be something like adding a texture or a light leak effect to a photo for a bit of artistic flair. It's a subtle way to superimpose an image without changing the core subject. For instance, I've often added a film grain layer to a sharp digital photo just to give it a warmer, more nostalgic feel.
Complex composites, on the other hand, are a whole different ballgame. Here, the goal is to create a completely seamless and believable new reality. This is where the real skill comes in, and you have to pay close attention to the details.
- Lighting and Shadows: You have to make sure the light source hitting your subject matches the light source in the background. Mismatched shadows are a dead giveaway.
- Perspective and Scale: Is the object you're adding the right size? Does the angle match the environment? Getting this wrong instantly shatters the illusion.
- Color Grading: This is crucial. You need to harmonize the colors of both images so they look like they were shot in the same place at the same time.
The real goal is to guide the viewer’s eye and convince them that the final image is a single, cohesive moment captured in time. When you understand this 'why,' the 'how' becomes much more intuitive.
A Technique with Deep Roots
This whole concept isn't just some modern digital trick, either. The idea of combining images has been around since the 19th century.
One of the pioneers was André Adolphe Disdéri, who back in 1854 invented a way to take several pictures one after another on a single photographic plate. This effectively superimposed multiple portraits, known as Carte de Visite photographs, creating new artistic and commercial opportunities. It's fascinating to see how these foundational techniques from the early days of photography really paved the way for the powerful editing tools we have today.
Preparing Your Photos for a Seamless Blend
A truly believable composite image is made long before you ever start blending. The real secret is in the prep work—choosing images that are practically destined to fit together. Skipping this groundwork is the fastest way to an edit that just feels off.
Think of it like cooking. The best ingredients give you the best results. For photo composites, your ingredients are resolution, lighting, and color. When these elements are mismatched, no amount of editing wizardry can fully hide the seams.
It's incredible to think how far we've come. Back in 1957, Russell Kirsch created the first digital image scanner, paving the way for image manipulation by turning photos into a mosaic of pixels. You can dive deeper into the fascinating history of digital photography to see how those early innovations shaped everything we do today.
Matching Your Source Images
Before you even open an editor, just lay your potential photos side-by-side. The goal is to find a foreground image (your subject) and a background that look like they belong in the same world. Honestly, this selection process is probably the most important step in learning how to superimpose pictures like a pro.
Here’s what I always look for to make sure the images will play nicely together:
- Lighting Direction and Quality: This is the big one. If your subject is lit from the left with soft, diffused light, dropping them into a background with harsh sunlight from the right will scream "fake." Look for photos where the light is coming from the same general direction.
- Resolution and Sharpness: Your foreground and background should have a similar level of detail. Placing a tack-sharp, high-resolution subject onto a blurry, low-res background (or the other way around) creates a really jarring disconnect.
- Color Temperature: Pay attention to the overall vibe of the colors. Is the image warm, with yellow and orange tones, or cool, with more blues? A subject shot in the warm glow of a sunset will clash badly with a background captured under a cool, overcast sky.
A great composite convinces the viewer that both elements were shot in the same moment, with the same camera. Mismatched lighting is the number one giveaway of an amateur edit, so spend extra time getting this part right. It pays off.
Simple Pre-Blend Adjustments
Once you've picked your images, a few tiny tweaks can make a huge difference. The idea isn't to fully edit the photos just yet, but to get them closer to a common baseline before you combine them.
Make small adjustments to the brightness and contrast of your subject to better match the background. If the background is a bit darker, just dim your subject to match. This one simple step helps the images feel like they belong in the same environment right from the start.
Aligning color styles can be a game-changer, too. For more advanced techniques, you can check out our guide on using AI for image style transfer to really harmonize your photos.
Step-by-Step Guide: Superimposing a Photo with AI Photo HQ
Alright, let's get into the fun part—where the real magic happens. Learning how to superimpose pictures used to be a serious grind, but with modern tools, it's a completely different ballgame. We'll walk through the whole process right here using AI Photo HQ, turning a task that once took hours of meticulous clicking into just a few intuitive moves.
Let's ground this in a real-world scenario. Say you’ve got a fantastic photo of a hiker, but the background is… well, a little boring. The goal is to lift that hiker out of their dull surroundings and drop them onto a dramatic, scenic cliffside to create an image with some real punch.
Step 1: Upload Your Foreground and Background Images
First things first, we need to get your images into the platform. You'll need two main photos for this project:
- Your Foreground Image: This is the star of the show, the subject you want to isolate. In our case, it's that photo of the hiker.
- Your Background Image: This is the new stage for your subject—the dramatic cliffside scene.
Go ahead and upload both images into AI Photo HQ. The interface is designed to be super straightforward, so you can select your files and have them ready for editing without jumping through any hoops.
Step 2: Instantly Remove the Background
Once your hiker photo is loaded, you’re at the step that used to be the most tedious part of any composite image. Manually tracing around a subject to cut out the background could take forever, especially with tricky details like hair or the texture on a jacket.
This is exactly where AI changes the game.
With AI Photo HQ, you just select the hiker image and hit the one-click AI background removal tool. The system instantly analyzes the photo, figures out what’s the subject and what isn’t, and cleanly removes the background. What you’re left with is a perfect cutout of your hiker.
The speed and accuracy here are what it's all about. What would have easily taken 20 minutes of careful work with a path tool in older software now happens in about five seconds. This frees you up to focus on the creative side of blending the images, not the mind-numbing technical labor.
Step 3: Position Your Subject for a Perfect Fit
With the hiker now isolated, it’s time to place them into their new cliffside home. AI Photo HQ automatically drops the cutout onto your background image as a separate layer. From here, you have total control to make them look like they actually belong in the scene.
You’ll see a bounding box around your subject. Use this to make three key adjustments:
- Resizing: Drag the corners of the box to scale the hiker up or down. You’ll want to pay close attention to the perspective of the cliffside photo to make sure their size looks realistic in the new environment.
- Positioning: Just click and drag the hiker to move them around the scene. You can place them on a ledge, near the edge, or further back on a path until you find the most natural-looking spot.
- Rotating: Use the rotation handle on the bounding box to slightly tilt the hiker. A tiny adjustment can make them look much more grounded and aligned with the terrain of the background.
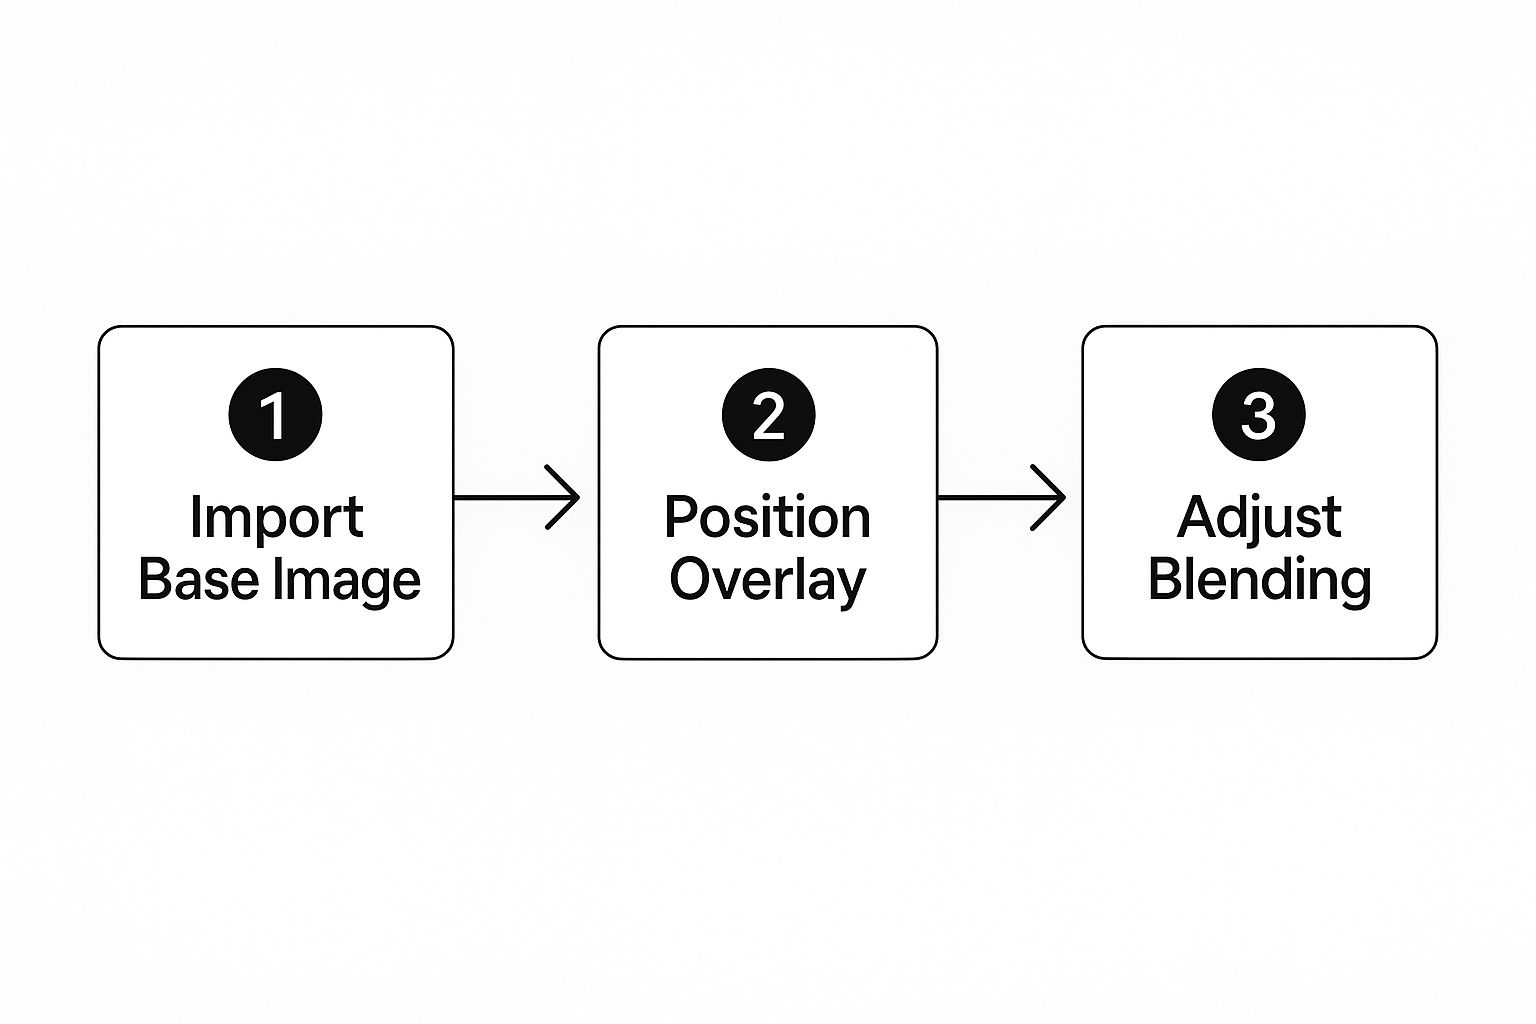
This whole process is pretty simple. It's really just about importing your images, positioning your subject, and then refining the final blend.
The difference between the old way and the new way of doing this is pretty stark. It highlights just how much heavy lifting the AI is doing for you.
Superimposing Workflow Comparison
Take a look at how the manual process stacks up against a modern AI-powered workflow. The time saved on tedious tasks is immediately obvious.
| Task | Manual Method (e.g., Pen Tool) | AI-Powered Method (e.g., AI Photo HQ) |
|---|---|---|
| Subject Selection | Meticulously tracing the subject's outline with a pen or lasso tool. Can take 15-30+ minutes. | One-click selection. The AI identifies the subject in seconds. |
| Refining Edges | Zooming in to manually clean up edges, especially around hair or fine details. | AI automatically handles complex edges like hair and fur with high precision. |
| Mask Creation | Creating and painting layer masks by hand to hide or reveal parts of the image. | The tool generates a clean layer mask automatically upon background removal. |
| Position & Scale | Manually transforming the layer, often guessing at the correct scale and perspective. | Intuitive bounding box controls for resizing, rotating, and moving. |
As you can see, the AI approach automates the most time-consuming and technically demanding parts, letting you get to the creative decisions much faster.
Once your subject is perfectly placed, you have a solid foundation for your composite image. But you don't have to stop there. You could take this even further by generating entirely new backgrounds or elements. For more inspiration, check out our guide on how to use an AI art generator from a photo to explore some wild creative possibilities.
From here, the next steps are all about the final polish—fine-tuning the colors and lighting to make the final image completely believable.
Using Layers and Masks for Realistic Edits
Dropping your subject into a new scene is just the starting line. The real magic happens when you make it look like they actually belong there. This is where layers and masks come in—they're your secret weapons for creating a final image that's believable and completely seamless.
Think of a layer mask as a smart stencil that you attach to your subject's layer. It gives you the power to hide or show parts of that layer without actually erasing anything. This is a game-changer because it means you can endlessly tweak and refine your composite with total flexibility.
Mastering the Art of the Soft Brush
The fastest way to ruin a composite image is with hard, obvious edges. A soft-edged brush is your go-to tool for avoiding that "cut-and-paste" look. By painting on your layer mask with a soft brush, you can gently fade the edges of your subject, blending them right into the new background.
Let's say you've placed a person on a foggy beach. In reality, their outline wouldn't be razor-sharp; it'd be a little hazy. You can recreate that effect perfectly by using a soft brush with a low opacity on the mask. It’s a small detail that makes the whole image feel instantly more authentic.
The goal is to get rid of any harsh lines that scream "this is an edit." A soft, gradual transition tricks the viewer's eye into seeing one cohesive photograph, not two separate images slapped together.
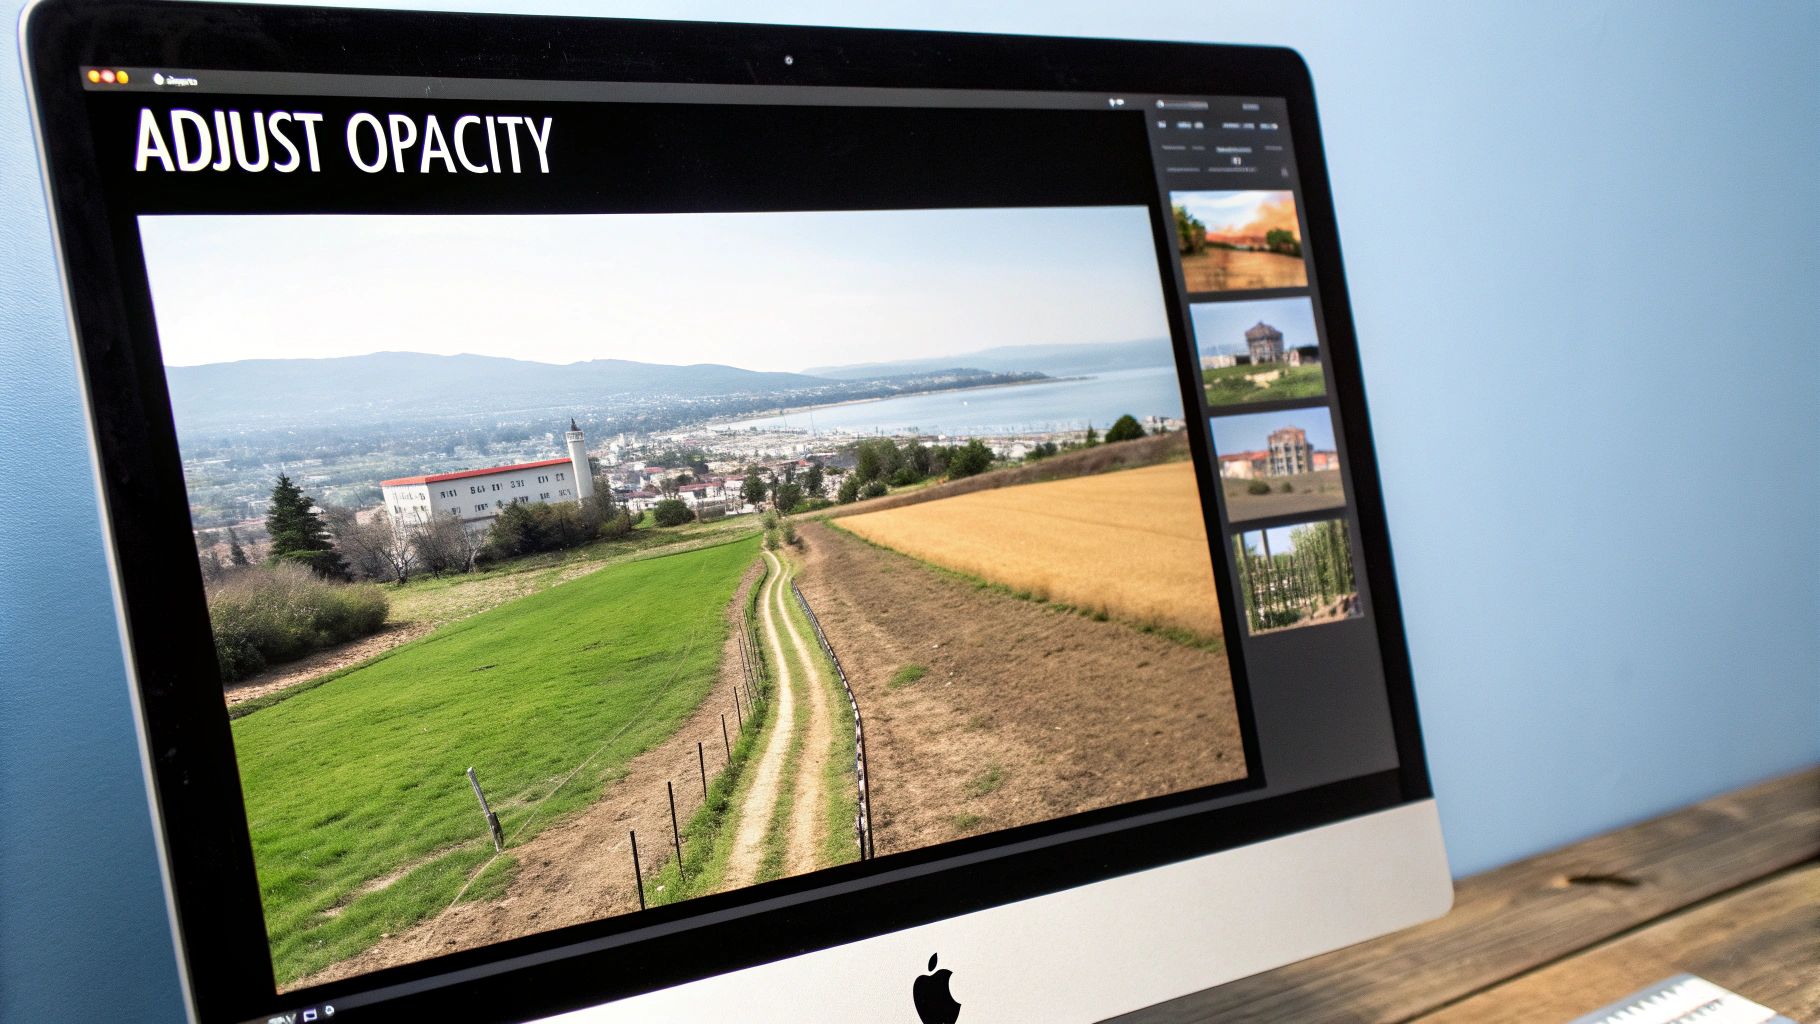
Blending Modes and Opacity Adjustments
Okay, so your edges are looking good. Now it's time to play with how your layers actually interact with each other. Two simple settings will do most of the heavy lifting here: opacity and blend modes.
- Opacity: This is just a fancy word for transparency. Dialing the opacity down from 100% can create some cool ghostly or ethereal looks. It’s also great for adding subtle textures or faking a double-exposure effect where the background peeks through your subject.
- Blend Modes: These are a bit more complex, but they’re incredibly powerful. They’re basically different formulas that dictate how the pixels from your subject layer mix with the background. "Overlay" or "Soft Light" are fantastic for blending in textures, and "Multiply" is a classic choice for creating realistic shadows.
Want a pro tip for shadows? Just duplicate your subject's layer, fill it with black, blur it slightly, and then drop the opacity way down. This simple trick adds depth and grounds your subject in the new environment, making a huge difference in realism.
Matching Lighting and Color
This is the final hurdle, and it’s a big one. You can have perfectly blended edges and a cool shadow, but if the lighting and color are off, the whole illusion falls apart. Your subject has to look like it’s being lit by the same light that exists in the background image.
You can start by making tiny tweaks to the brightness, contrast, and color balance of your subject layer. If your background has that warm, golden-hour glow, you need to add some yellows and reds to your subject. If the scene is cool and overcast, a touch of blue and cyan will help it fit right in.
Thanks to the explosion of digital photography, these techniques are more accessible than ever. By 2020, people were taking over 1 trillion photos a year, and advanced editing tools have become standard. In fact, photo editing app revenues grew at a compound annual rate of more than 14% between 2015 and 2022, all driven by our desire for creative control. You can dig into the growth of the photo editing market to see the full picture.
Ultimately, getting good at layering and masking circles back to the core principles of what makes a great image. To sharpen your skills even more, take a look at our guide on essential photography composition tips.
Creative Projects and Practical Uses
Alright, you've got the hang of the tools—layering, masking, and one-click background removal in AI Photo HQ. Now for the fun part: seeing what you can actually create with them.
Let's dive into a few hands-on examples to get your creative gears turning. These aren't just abstract ideas; they're practical applications for building out a creative portfolio or whipping up some eye-catching marketing visuals. Each project will walk you through the core steps again, but in a real-world context.
To really get the most out of these visuals, it's a good idea to fit them into a larger plan, like a streamlined content creation workflow.
Tutorial 1: Surreal Double Exposure Portrait
Goal: Blend a person's portrait with a dramatic city skyline for an artistic effect.
- Choose Your Images: Start with a high-contrast portrait (a side profile works great) and a dynamic cityscape photo.
- Isolate the Subject: Upload the portrait to AI Photo HQ and use the one-click background removal tool. You'll now have the person's head and shoulders on a transparent background.
- Layer the City: Place the cityscape image on a layer above the portrait.
- Change the Blend Mode: Select the city layer and change its blend mode to Screen. This will make the city appear within the silhouette of the person.
- Adjust Opacity: Lower the opacity of the city layer to around 70-80% to let the portrait's features show through more clearly.
- Refine with a Mask: Add a layer mask to the cityscape. Use a soft, black brush at a low opacity (around 20%) to gently paint over key facial features like the eyes and mouth. This makes them more distinct and less cluttered.
Tutorial 2: Adding a Ghostly Figure to a Landscape
Goal: Superimpose a person into a moody landscape to create an ethereal, spooky vibe.
- Prep Your Photos: You'll need a photo of a person (ideally against a simple background) and a moody landscape, like a foggy forest or misty beach.
- Cut Out the Figure: Use the background removal tool to isolate your person.
- Position the Figure: Drag the cutout of the person onto your landscape photo and position them where you want them in the scene.
- Create the Ghost Effect: Select the person's layer and lower the Opacity to around 40-50%. They should now look transparent.
- Soften the Edges: Add a layer mask to the figure. Use a soft, black brush to gently paint around the edges of the person, helping them blend into the mist or fog of the background.
- Add a Glow (Optional): Duplicate the figure layer, apply a slight Gaussian blur to the copy, and set its blend mode to Soft Light. This adds a subtle, ethereal glow.
Tutorial 3: Building a Professional Product Mockup
Goal: Place a product into a lifestyle shot to make it look like it was photographed in that environment.
- Gather Assets: Find a clean, high-resolution shot of your product and a lifestyle photo that fits its brand (e.g., a water bottle on a hiking trail).
- Isolate the Product: Remove the background from your product shot using the AI tool.
- Place and Scale: Drag the product cutout onto the lifestyle image. Resize and rotate it until its perspective and scale look natural within the scene.
- Create a Realistic Shadow: This step is crucial. Duplicate the product layer. On the bottom copy, use a color fill tool to make it solid black. Apply a slight Gaussian blur to soften it, then lower its opacity to around 25-35%. Use the move tool to position this shadow layer slightly offset from the product, as if it's being cast on the ground.
- Match the Lighting: With the product layer selected, make small adjustments to its brightness, contrast, and color balance until it matches the lighting of the lifestyle photo. If the scene is warm, add a hint of yellow. If it's cool, add a touch of blue.
Best Practices You Need to Know
As you start experimenting, keep these pointers in mind. They're the little things that separate a good composite from a great one.
- Always, always match the direction of your light sources. Mismatched lighting is the fastest way to make an image look fake.
- Use soft brushes for your masks. This helps blend edges and hide any "cut and paste" lines.
- Don't be afraid to play with blend modes like Overlay and Soft Light. They're fantastic for unifying textures between layers.
- For color correction, try to use curves for fine-tuning instead of making broad, global adjustments. You get much more control.
Consistent layering and matched lighting are the cornerstones of believable composites.
Go ahead and give these projects a try. The more you experiment with these techniques in AI Photo HQ, the more intuitive it will become. You'll be creating unique, standout visuals in no time.
Got Questions About Superimposing Pictures?
When you're first learning how to superimpose pictures, a few questions always seem to come up. Nailing the answers to these can save you a world of frustration and lead to a much more believable final image. Let’s walk through some of the most common hurdles you'll likely face.
What’s the Best File Format to Use?
One of the first things people stumble on is file formats. For the best results, you really want to start with high-quality, uncompressed files like PNG or TIFF.
I’ve found that a PNG file is especially great for your foreground subject. Why? It supports transparency. This means you can save a clean cutout of your subject without any pesky background attached, making the layering process so much cleaner. JPEGs will work in a pinch, but their compression can sometimes create nasty little artifacts around the edges of your subject.
How Do I Match Different Image Resolutions?
So, what happens when your background is a massive, high-resolution photo but your subject is from a much smaller image? This is a classic problem. If you just scale up the smaller image to fit, it's going to look blurry and pixelated, which instantly gives away that the image is a composite.
The best practice here is to always scale down, not up.
Start with a high-resolution background, then find a foreground image that’s either a similar size or, even better, larger. This lets you shrink your subject to fit the scene perfectly without sacrificing any of that crucial sharpness or detail.
The golden rule of compositing is to maintain image quality at all costs. It's always better to make a large image smaller than to try and make a small image larger. The quality loss is just too noticeable.
How Can I Make Lighting and Shadows Look Real?
Another huge challenge is getting the lighting and shadows right. How do you make a subject look like they actually belong in the new environment?
Here’s a simple trick I use all the time:
- Create a new layer right underneath your subject.
- Paint a soft, black shape where their shadow would naturally fall on the ground or surrounding objects.
- Lower the opacity of that shadow layer to somewhere between 20-40%.
- To really sell the effect, you can also add a slight Gaussian blur to the shadow layer. This softens the edges and makes it look much more natural.
When it comes to the tools for the job, you've got a ton of options, from free web-based editors to professional-grade software. While big desktop programs give you incredible control, I've found that AI-powered tools like AI Photo HQ are fantastic for knocking out the tedious parts—like background removal and basic blending—in seconds. This frees you up to focus on the fun, creative side of the project.
Ready to create stunning composite images in just a few clicks? AI Photo HQ gives you the power to remove backgrounds, layer photos, and bring your creative ideas to life effortlessly. Start your project today.

