You've got a photo that's almost perfect. Maybe there's a stranger in the background. A power line cutting through an otherwise gorgeous landscape. A blemish on a product shot that's costing you clicks.
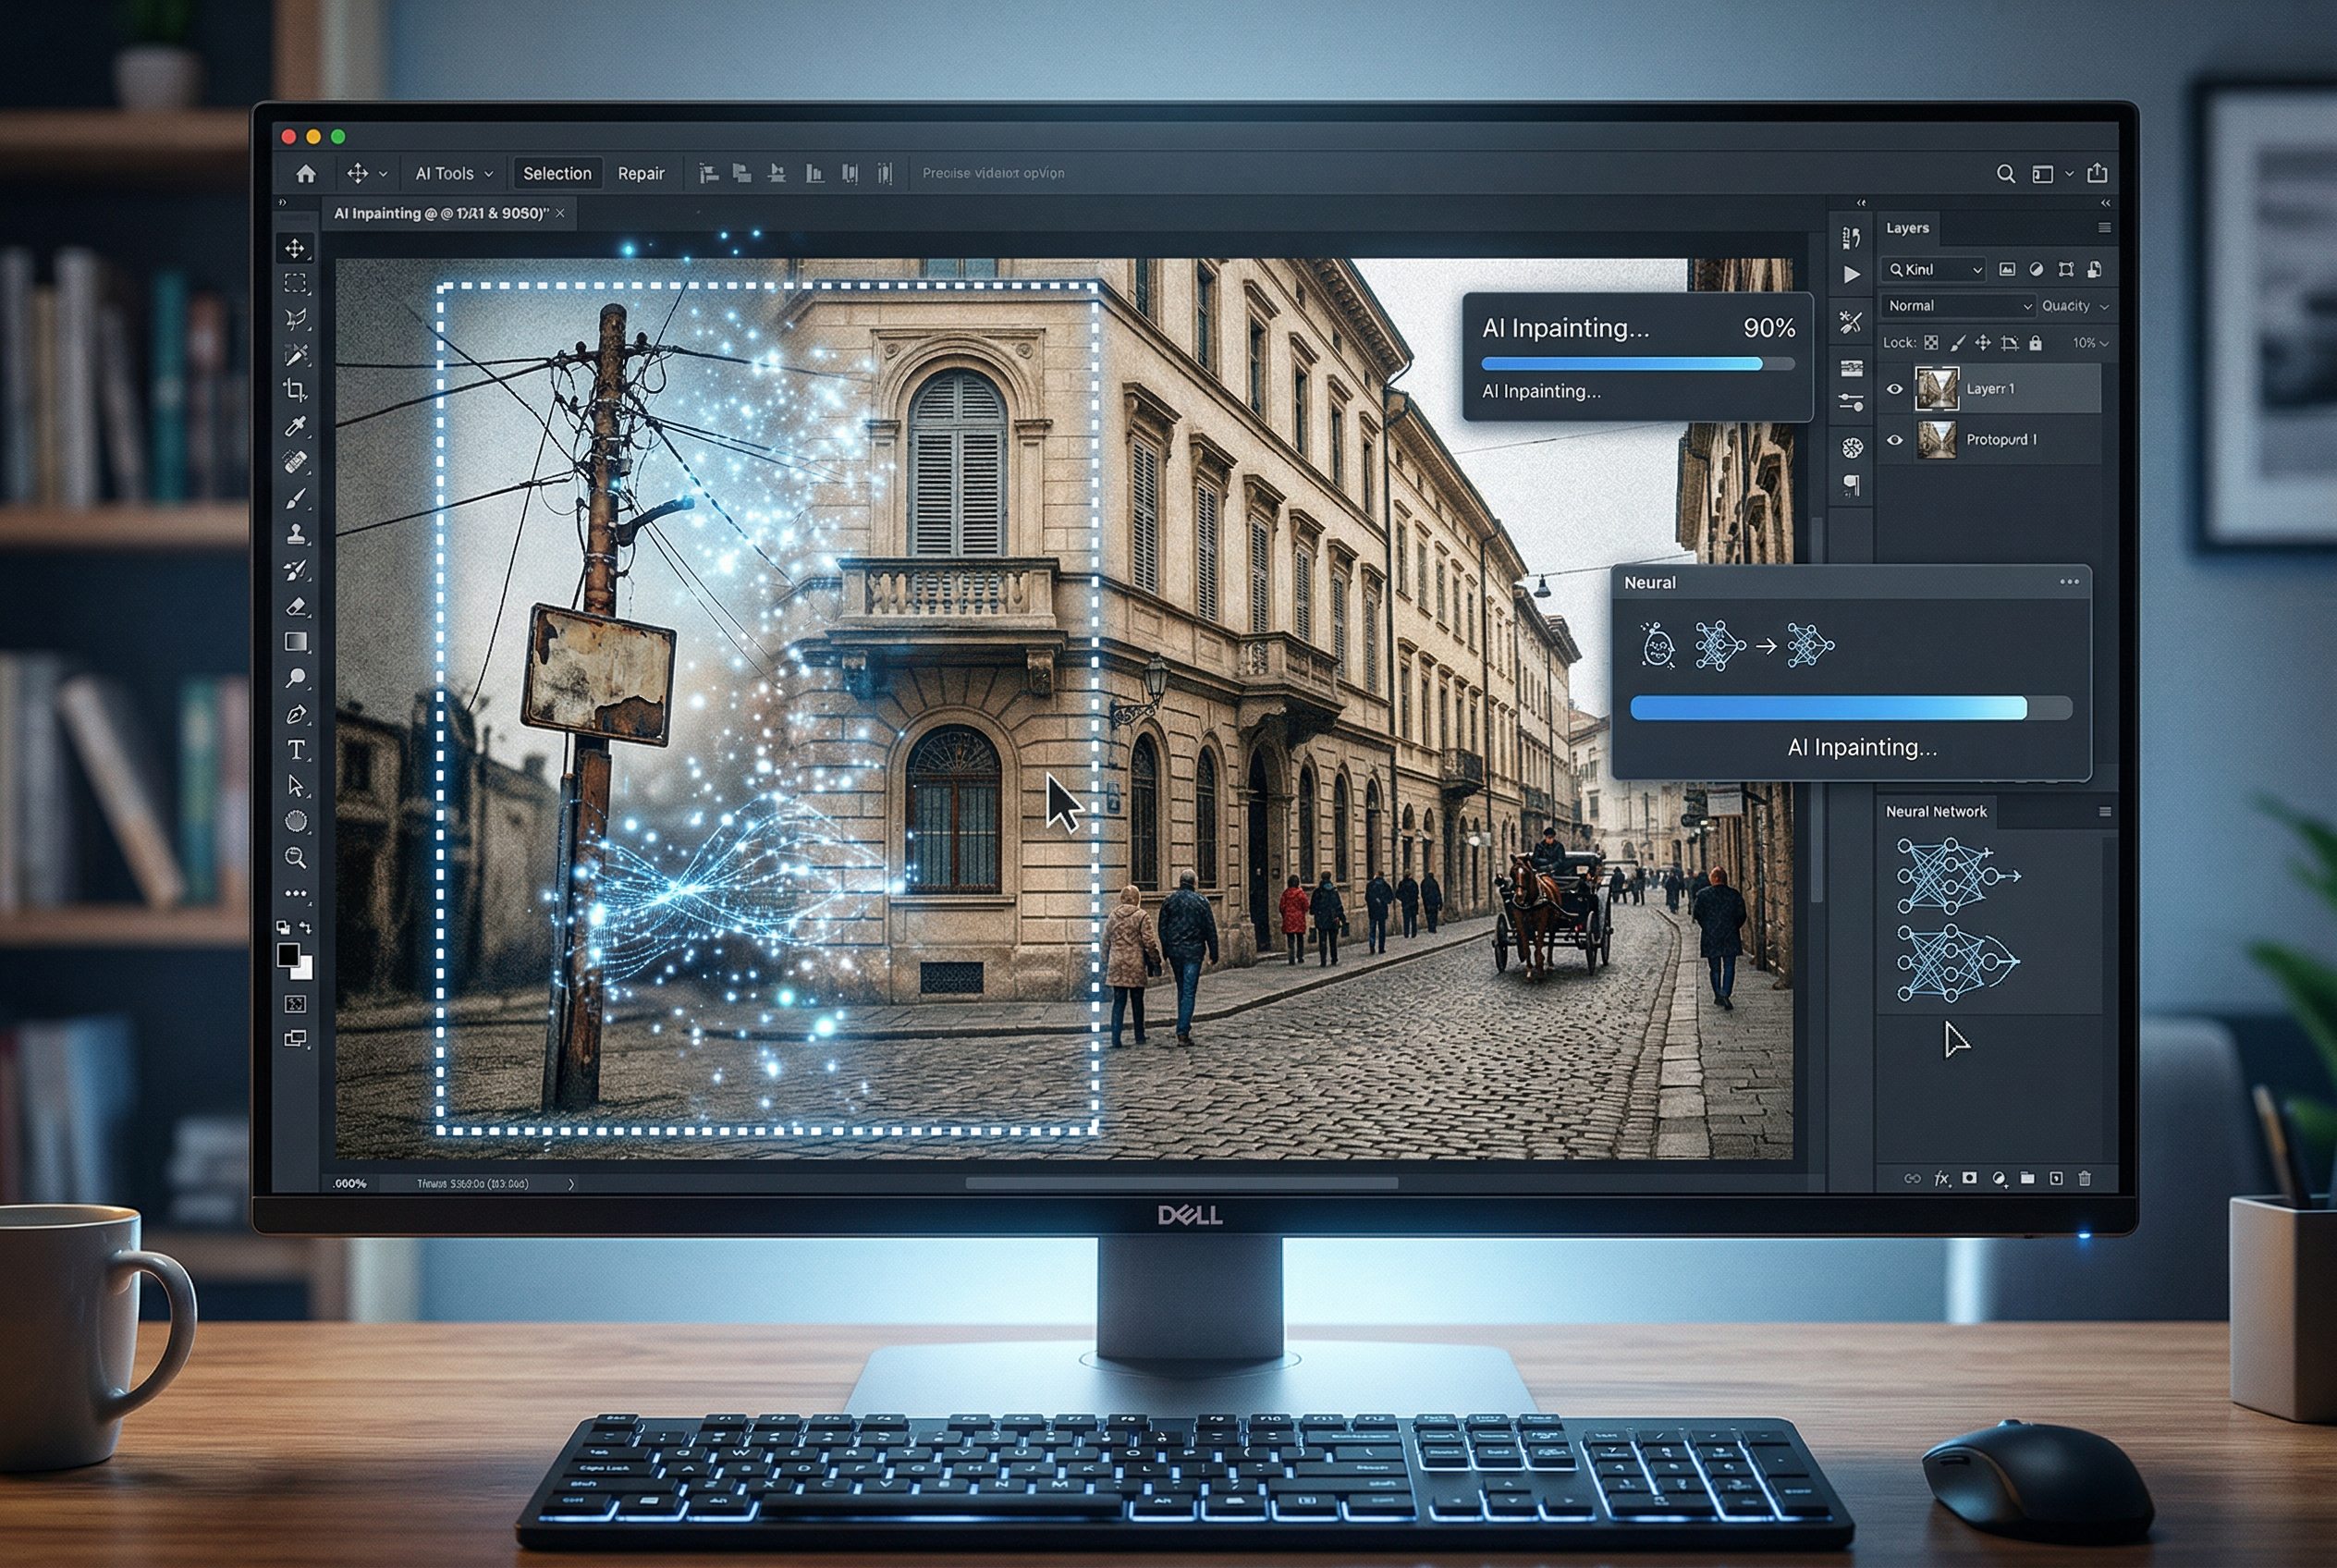
A few years ago, you'd open Photoshop, spend 45 minutes with the clone stamp tool, and still end up with something that looked… off. Today? You mask the area, type what you want, and AI handles the rest in seconds.
That's AI inpainting — and it's quietly become one of the most useful tools in any creator's arsenal.
This guide breaks down everything you need to know: how inpainting actually works under the hood, the best tools available in 2026, practical tips for getting clean results, and real use cases across photography, e-commerce, design, and more.
What Is AI Inpainting?
AI inpainting is the process of using artificial intelligence to fill in, replace, or reconstruct selected areas of an image. You "mask" the part you want to change — by painting over it or selecting it — and the AI generates new content that blends seamlessly with the surrounding pixels.
Think of it as a smart patch. But unlike traditional cloning or stamping, the AI actually understands what's in the image. It reads context from surrounding areas — the lighting, textures, colors, and even the subject matter — to produce fills that look like they were always part of the original photo.
The term "inpainting" originally comes from art restoration, where conservators would carefully repaint damaged sections of canvases to restore them to their original state. The digital version does the same thing, just at machine speed and with machine precision.
Inpainting vs. Outpainting: What's the Difference?
These two terms often get confused, so let's clear it up:
- Inpainting works within the existing image boundaries. You select an area inside the image and replace or modify it.
- Outpainting works beyond the image boundaries. It extends the canvas by generating new content outside the original frame.
Same underlying technology, different direction. Inpainting goes inward; outpainting goes outward. Both use diffusion models to generate contextually appropriate content.
If you're interested in extending images beyond their borders, check out our complete guide to AI outpainting.
How Does AI Inpainting Work?
Most modern AI inpainting tools run on diffusion models — the same technology behind image generators like Stable Diffusion, DALL-E, and Midjourney. Here's the simplified version of what happens when you inpaint:
- You create a mask. This tells the AI which pixels to keep and which to regenerate. Everything inside the mask is fair game; everything outside stays untouched.
- The model analyzes context. The AI examines the unmasked areas — edges, textures, lighting direction, color gradients, perspective — to understand what should logically fill the gap.
- Noise is added and denoised. The diffusion model starts with random noise in the masked area and gradually refines it through multiple denoising steps, guided by the surrounding context (and any text prompt you've provided).
- The result is composited. The newly generated content is blended into the original image, matching edges, colors, and lighting so the edit looks natural.
What makes modern inpainting so effective is that these models have been trained on billions of images. They've learned how grass meets sidewalks, how light falls across skin, how reflections work on glass. When they fill in a gap, they're drawing on this massive visual understanding — not just smearing nearby pixels around.
Text-Guided vs. Context-Only Inpainting
There are two main approaches to inpainting, and most tools support both:
- Context-only inpainting: The AI simply looks at what's around the masked area and fills in what it thinks should be there. No prompt needed. This works great for removing objects — the AI just "heals" the gap with the surrounding background.
- Text-guided inpainting: You provide a text prompt describing what should replace the masked area. Want to swap a red car for a blue one? Replace an empty table with a coffee cup? Text-guided inpainting lets you direct the generation with natural language.
Text-guided inpainting is more powerful but requires more skill. Your prompt needs to be specific enough to get what you want, but not so detailed that it conflicts with the surrounding image context.
10 Practical Use Cases for AI Inpainting
Inpainting isn't a niche technique — it's genuinely useful across almost every field that touches images. Here's where it shines:
1. Object Removal
The most common use case. Remove photobombers, trash cans, signs, wires, or any distracting element from a photo. The AI fills the gap with contextually appropriate background content — grass, sky, wall texture, whatever was behind the object.
2. Product Photography Cleanup
E-commerce brands use inpainting to remove blemishes, adjust backgrounds, fix lighting inconsistencies, or even swap product colors without reshooting. One product photo becomes ten variations in minutes.
3. Portrait Retouching
Beyond basic blemish removal, inpainting can handle more complex portrait edits: changing hairstyles, adjusting clothing, removing accessories, or even modifying facial expressions. It's more precise than global filters because you're editing specific areas.
4. Real Estate Photo Enhancement
Agents and photographers use inpainting to remove clutter from rooms, add virtual staging elements (furniture, decor), fix weather in exterior shots, or remove temporary construction. The result: listing photos that sell.
5. Photo Restoration
Old, damaged photos with scratches, tears, stains, or missing sections can be reconstructed using inpainting. The AI analyzes the remaining image data and regenerates the damaged areas. It's like having a digital art conservator on call. For dedicated tools, see our roundup of the best photo restoration software.
6. Content-Aware Fill for Design
Designers use inpainting to extend textures, create seamless patterns, fill in cropped areas, or adapt images to different aspect ratios without visible stretching or artifacts.
7. Watermark and Text Removal
Inpainting can remove watermarks, timestamps, captions, or other overlaid text from images. (A note on ethics: only remove watermarks from images you own or have license to edit. Removing copyright watermarks from others' work is not okay.)
8. Scene Modification
Change the weather in a photo — add rain, snow, or sunshine. Swap seasons by changing foliage colors. Replace a cloudy sky with a dramatic sunset. Inpainting lets you modify scene elements while keeping everything else intact.
9. Fashion and Apparel Visualization
Fashion brands use inpainting to swap colors, patterns, or entire garments on models without reshooting. This speeds up catalog production enormously and reduces the need for physical samples.
10. Creative Art and Concept Design
Artists use inpainting as a creative tool — painting rough shapes on a canvas and letting AI refine them, iterating on compositions, exploring variations of a concept without starting from scratch each time.
8 Best AI Inpainting Tools in 2026
The inpainting landscape has matured significantly. Here are the tools worth your time, from browser-based options to professional-grade software:
1. Adobe Photoshop (Generative Fill)
Adobe's Generative Fill, powered by Firefly, is the industry standard for a reason. It's deeply integrated into Photoshop's selection and masking tools, so you get the best of both worlds: professional-grade selection precision and AI-powered generation. The results are consistently high-quality, and the non-destructive workflow means you can always revert.
- Best for: Professional photographers and designers
- Price: From $22.99/month (Photoshop plan)
- Standout feature: Integration with Photoshop's full editing toolkit
2. Stable Diffusion (via ComfyUI or Automatic1111)
If you want maximum control over inpainting, running Stable Diffusion locally is hard to beat. You can choose specific models, adjust denoising strength, use ControlNet for structural guidance, and fine-tune every parameter. The learning curve is steeper, but the results can be exceptional — and it's free.
- Best for: Technical users and AI art enthusiasts
- Price: Free (requires a GPU)
- Standout feature: Full parameter control and model selection
3. Krita (with AI Diffusion Plugin)
Krita is a free, open-source painting application, and its AI Diffusion plugin turns it into a powerful inpainting workstation. You get Krita's excellent brush and selection tools combined with Stable Diffusion's generation capabilities. Reddit communities consistently rate it as one of the best inpainting setups available.
- Best for: Digital artists and illustrators
- Price: Free
- Standout feature: Painting + AI in one workspace
4. getimg.ai
A browser-based option that handles inpainting well with minimal setup. Upload your image, brush over the area you want to change, type a prompt, and you're done. The interface is clean and the results are solid for quick edits.
- Best for: Quick, no-setup edits
- Price: Free tier available; paid plans from $12/month
- Standout feature: Zero learning curve
5. Fotor
Fotor's AI inpainting tool is straightforward and accessible. It handles object removal and content replacement well, and the results blend naturally into most images. The free tier is generous enough for casual use.
- Best for: Casual users and social media managers
- Price: Free tier available; Pro from $8.99/month
- Standout feature: Simple brush-and-prompt workflow
6. Runway
Runway's inpainting is part of a broader creative AI suite that includes video generation, motion tracking, and more. The inpainting itself is capable, but Runway's real strength is combining inpainting with other tools in creative workflows — like inpainting a frame and then animating it.
- Best for: Video creators and multimedia projects
- Price: Free tier; Pro from $12/month
- Standout feature: Video + image inpainting in one platform
7. MyEdit by CyberLink
A browser-based editor focused on practical photo editing. MyEdit's inpainting handles object removal and replacement with solid accuracy. It's particularly good for batch processing — if you need to clean up multiple product photos, this is a time-saver.
- Best for: E-commerce and batch photo editing
- Price: Free basic tools; subscription for full access
- Standout feature: Batch processing capabilities
8. Pincel
A lightweight, free online inpainting tool that's surprisingly good for simple edits. It uses a neural network approach focused on context-aware filling — great for object removal where you don't need to add new elements, just heal the gap cleanly.
- Best for: Quick object removal
- Price: Free
- Standout feature: Fast, simple, no account required
Quick Comparison
| Tool | Type | Text-Guided | Free Tier | Best For |
|---|---|---|---|---|
| Adobe Photoshop | Desktop app | Yes | 7-day trial | Professionals |
| Stable Diffusion | Local / self-hosted | Yes | Free | Technical users |
| Krita + AI Plugin | Desktop app | Yes | Free | Digital artists |
| getimg.ai | Browser-based | Yes | Yes | Quick edits |
| Fotor | Browser-based | Yes | Yes | Casual users |
| Runway | Browser-based | Yes | Yes | Video + multimedia |
| MyEdit | Browser-based | Yes | Limited | Batch processing |
| Pincel | Browser-based | No | Yes | Simple removal |
How to Get Better Inpainting Results: 9 Pro Tips
The difference between "meh" and "wow" in inpainting usually comes down to technique, not the tool. Here's what experienced users know:
1. Mask Generously
The most common mistake is masking too tightly around the object you want to remove. Give the AI room to work. Extend your mask slightly beyond the edges of the object — this gives the model more context for blending and reduces visible seams.
2. Work in Stages
For complex edits, don't try to fix everything in one pass. Remove the main object first, then clean up any artifacts in a second pass. Add new elements in a third pass. Each step builds on clean results from the previous one.
3. Match Your Denoising Strength to the Task
Most inpainting tools let you control how much the AI changes. For object removal (where you want the AI to just fill with background), use moderate denoising strength (0.4–0.6). For adding entirely new elements, go higher (0.7–0.9). Too high and the fill won't blend; too low and remnants of the original will show through.
4. Write Descriptive Prompts (When Using Text-Guided)
Don't just say "remove the person." Describe what should replace them: "grassy field with wildflowers, soft afternoon sunlight, slightly blurred background." The more specific you are about what you want to see, the better the result.
5. Pay Attention to Lighting Direction
One of the biggest tells of a bad inpaint is mismatched lighting. If the light in your image comes from the left, the AI-generated content should respect that. Some tools handle this automatically; others need prompting guidance. Mentioning lighting in your prompt ("lit from the left," "soft shadows") can help.
6. Use Reference Images When Possible
Some tools (especially Stable Diffusion setups with ControlNet) let you provide reference images that guide the generation. If you want a specific style, texture, or composition in your inpainted area, a reference image communicates that far better than text alone.
7. Zoom In and Check Edges
Always inspect the boundaries of your inpainted area at 100% zoom. Look for subtle color shifts, texture mismatches, or blending artifacts. These are invisible at thumbnail size but obvious in print or on larger screens.
8. Try Multiple Generations
AI inpainting involves randomness. The first result isn't always the best. Most tools let you generate multiple variations — try 3–4 and pick the one that blends most naturally. Some tools even let you composite the best parts of different generations.
9. Consider the Image Resolution
Higher resolution images generally produce better inpainting results because the AI has more context to work with. If you're working with a low-resolution source, consider upscaling it first (using an AI upscaler), inpainting, and then downscaling if needed.
Inpainting Workflows for Common Scenarios
Theory is nice, but let's get practical. Here are step-by-step workflows for the three most common inpainting tasks:
Workflow 1: Removing a Person from a Photo
- Open your image in your preferred inpainting tool
- Select a brush size slightly larger than the person
- Paint over the entire person, extending the mask 10–15% beyond their outline
- If using text-guided: describe the background ("wooden park bench with green trees, dappled sunlight")
- Generate and inspect at full zoom
- If shadows or reflections remain, do a second pass masking just those areas
Workflow 2: Swapping an Object's Color
- Carefully mask just the object whose color you want to change
- Set denoising strength to 0.5–0.65 (enough to change color but preserve shape)
- Prompt with the desired color and material: "bright red leather jacket, same style and fit"
- Generate multiple variations and choose the most natural one
- Fine-tune edges if needed with a smaller brush in a follow-up pass
Workflow 3: Adding an Element to a Scene
- Mask the area where you want the new element to appear
- Make the mask slightly larger than the intended object
- Write a detailed prompt: describe the object, its material, and how it should interact with light ("ceramic coffee mug on the wooden table, warm indoor lighting, slight shadow to the right")
- Set denoising strength high (0.8–1.0) since you're generating something new
- Generate and check for perspective consistency — does the new object match the scene's angle and scale?
The Ethical Side of AI Inpainting
With great editing power comes responsibility. A few things worth keeping in mind:
- Don't manipulate images to deceive. Inpainting a product photo to remove a real defect? That's fraud. Cleaning up background distractions in an otherwise honest photo? Totally fine.
- Respect copyright. Removing watermarks from images you don't own is copyright infringement, regardless of how easy the tool makes it.
- Be transparent in journalism. If you're editing photos for news or editorial use, any AI modifications should be disclosed.
- Consider consent. Adding someone's likeness to a photo (or removing them from a meaningful image) raises ethical questions that tools alone can't answer.
The technology itself is neutral. It's how we use it that matters.
Frequently Asked Questions
Is AI inpainting the same as Photoshop's Content-Aware Fill?
They solve the same problem but work differently. Adobe's older Content-Aware Fill analyzed surrounding pixels to patch gaps. Modern AI inpainting (including Photoshop's newer Generative Fill) uses diffusion models that understand full image context — scenes, objects, lighting — producing much more convincing results, especially for complex edits.
Can I use AI inpainting on my phone?
Yes. Several mobile apps offer inpainting, including TouchRetouch, Snapseed, and the mobile versions of tools like Fotor and Canva. The results aren't quite as refined as desktop tools, but they're perfectly usable for social media and quick edits.
Does inpainting work on all types of images?
It works best on photos with clear context — landscapes, portraits, product shots, and scenes with identifiable textures. Abstract art, heavily stylized images, or very low-resolution photos can be more challenging because the AI has less context to work with.
How is inpainting different from AI image generation?
Image generation creates an entire image from scratch (usually from a text prompt). Inpainting modifies a specific area within an existing image while preserving everything else. Think of generation as writing a whole book, and inpainting as editing a single chapter.
Will the inpainted area be detectable?
With good technique and a capable tool, inpainted areas are virtually undetectable to the human eye. However, forensic analysis tools can sometimes identify AI-generated content by looking for statistical patterns in pixel distributions. For everyday use — social media, marketing, personal photos — the results are seamless.
What image formats work with inpainting tools?
Most tools accept common formats like JPEG, PNG, and WebP. For the best results, use lossless formats (PNG or TIFF) since JPEG compression can introduce artifacts that interfere with blending. If your source is JPEG, that's fine — just avoid repeatedly re-saving as JPEG after each edit.
How much does AI inpainting cost?
It ranges from completely free (Stable Diffusion, Krita, Pincel) to $10–25/month for professional tools. Many browser-based options offer free tiers with enough credits for occasional use. If you're doing inpainting regularly for work, a paid subscription is worth it for the time savings alone.
The Bottom Line
AI inpainting has gone from a niche technical capability to an everyday tool that anyone can use. Whether you're cleaning up vacation photos, preparing product shots for your store, restoring old family pictures, or exploring creative ideas, the technology is mature enough to deliver professional results without professional skills.
The key is choosing the right tool for your needs and learning the fundamentals — generous masking, descriptive prompts, working in stages, and always checking your edges. Master those basics, and you'll be amazed at what you can do with images you once would have discarded.
Start with a free tool, experiment on images you don't care about, and build your intuition. Once inpainting clicks, you'll wonder how you ever edited images without it.

