If you've ever tried creating multiple AI illustrations for a website, you've probably hit the same wall: every image looks like it was made by a different artist. Characters change appearance between images, styles drift, and what should be a cohesive set of illustrations ends up looking like a clip art grab bag.
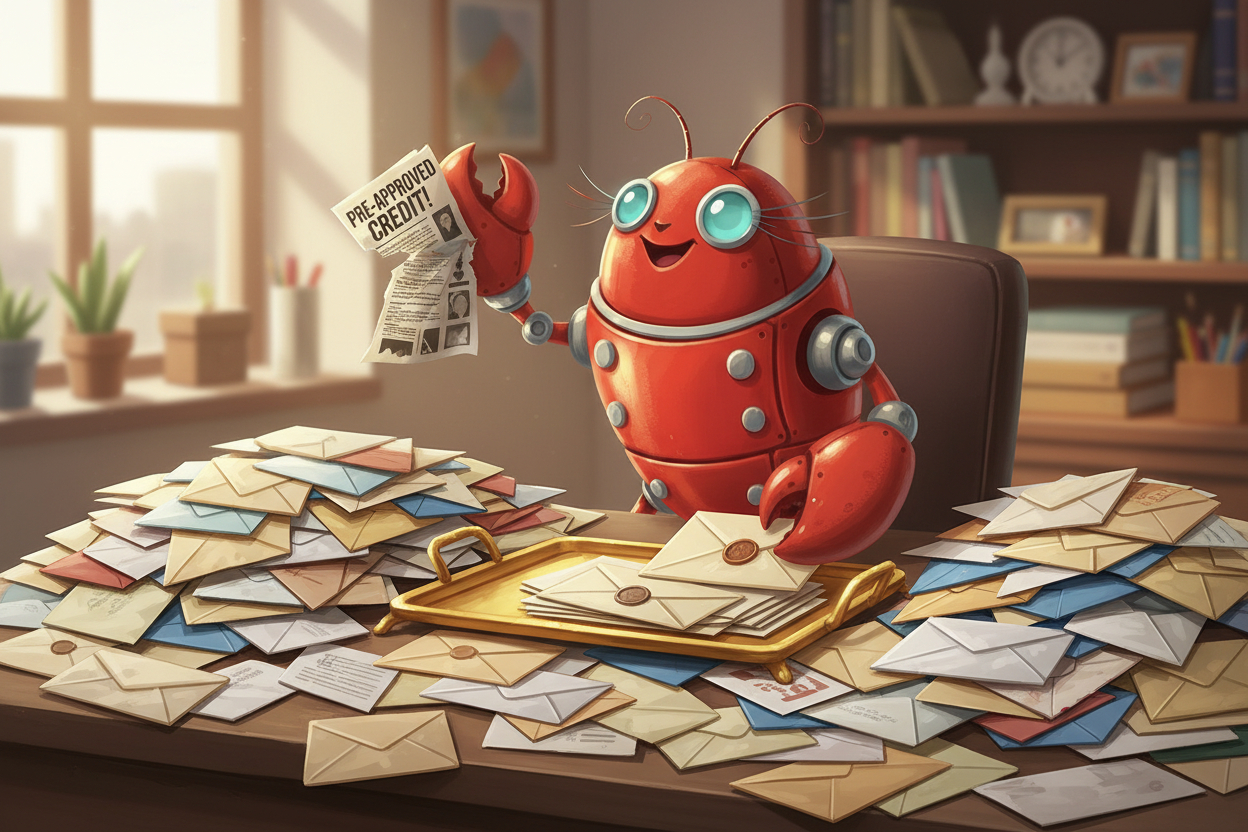
We recently needed to create 32 unique illustrations featuring the same character — a friendly robot lobster — for Clawly, a managed hosting platform for OpenClaw AI agents. Each illustration needed to show the character in a different scenario (email triage, calendar management, code review, etc.) while maintaining a completely consistent style and character design.
Here's exactly how we did it — the workflow, the tools, the prompts, and the lessons learned. No fluff, just the actual process that worked.
The Challenge: One Character, 32 Scenarios
Our requirements were specific:
- A consistent mascot character (robot lobster) across all 32 images
- Each illustration depicting a different AI use case — from email triage to server monitoring to content writing
- Uniform art style, colour palette, and quality level
- Website-ready resolution and composition
- Produced efficiently — we didn't want to spend weeks on this
Doing this manually with a traditional AI image generator would mean generating dozens of images per scene, cherry-picking the best ones, and constantly fighting style drift. We needed a better workflow.
The Stack: Claude Code + AI Photo Generator MCP + Google Nano Banana
The breakthrough was combining three tools into an automated pipeline:
- Google Nano Banana Pro — A high-quality AI model used to design and refine the character
- AI Photo Generator MCP — Model Context Protocol server that lets Claude Code generate images programmatically
- Claude Code — Anthropic's coding agent, which orchestrated the entire workflow
The key insight: use the expensive, high-quality model once to establish the character, then use a cheaper model for mass production.
Step 1: Design the Character with Nano Banana Pro
We started with Google's Nano Banana Pro model — it's one of the best available models for illustration quality, with excellent understanding of character design concepts.
Our initial prompt was iterative. We didn't nail the character on the first try. Instead, we went through several rounds:
The Character Development Process
Round 1: Basic concept — "A friendly robot lobster mascot, cartoon style, approachable, tech-themed." This gave us the general vibe but the character was too generic.
Round 2: Adding personality — We refined the proportions, added specific details like antenna style, claw design, and colour scheme. The robot lobster started feeling like a character, not just a random generation.
Round 3: Final refinement — We locked in the exact design: colour palette (warm reds and teals), eye style (friendly, rounded), body proportions, and the level of mechanical detail on the robot parts.
The result was our hero character — a charismatic robolobster with a consistent, memorable design that could work across different scenarios.
Why Nano Banana Pro for this step: Character design requires a model that understands nuance — subtle expression differences, consistent proportions, and design language. The Pro model handles this significantly better than standard models, and since you're only generating a handful of images at this stage, the higher cost per image is well worth it.
Step 2: Set Up the MCP Pipeline
With our character designed, we connected Claude Code to AI Photo Generator's MCP server. MCP (Model Context Protocol) is an open standard that lets AI assistants call external tools — in this case, image generation.
The setup is straightforward. In Claude Code's project configuration (.mcp.json):
{
  "mcpServers": {
    "aiphotogenerator": {
      "type": "http",
      "url": "https://www.aiphotogenerator.net/api/mcp",
      "headers": {
        "Authorization": "Bearer YOUR_API_TOKEN"
      }
    }
  }
}
Once configured, Claude Code can generate images directly during a conversation — no switching between tools, no manual downloads, no copy-pasting prompts between windows.
Why MCP Changes the Game
Without MCP, creating 32 illustrations would look like this:
- Write a prompt
- Switch to an image generator
- Paste the prompt
- Wait for the result
- Download the image
- Go back to your project
- Repeat 31 more times
With MCP, Claude Code handles the entire loop programmatically. You describe what you need, and it generates, evaluates, and iterates — all within the same conversation.
Step 3: Mass Production with the Standard Model
Here's where the cost efficiency comes in. For the actual 32 illustrations, we switched from Nano Banana Pro to the standard Nano Banana model. Why?
- The character was already defined — We had a detailed reference and prompt template locked in from Step 1
- Cost savings at scale — The standard model costs significantly less per generation, and when you're producing 32+ images, that adds up fast
- Consistency through prompting — With a well-crafted prompt template, the standard model maintained character consistency surprisingly well
The Prompt Template Strategy
The secret to consistent characters across multiple generations is a locked prompt template. We created a base prompt that described the character in detail, then only varied the scene-specific elements:
Base template (constant across all 32 images):
- Character description — exact colours, proportions, design elements, expression style
- Art style — illustration style, line weight, shading approach, background treatment
- Technical specs — composition guidelines, colour palette constraints
Variable section (unique per illustration):
- The specific scenario (e.g., "sorting through a pile of emails" or "monitoring server dashboards")
- Scene-specific props and background elements
- Any scenario-specific expressions or poses
Claude Code managed this automatically — it understood the template structure and generated appropriate scene variations while keeping the character description locked.
Step 4: Let Claude Code Orchestrate
This is where the workflow really shines. We gave Claude Code a list of all 32 use cases from the Clawly website and asked it to:
- Read each use case title and description
- Design an appropriate scene for the robolobster character
- Generate the illustration using the MCP tool with the standard Nano Banana model
- Evaluate the result for character consistency
- Re-generate if the character drifted too far from the reference
The entire process — all 32 illustrations — was completed in a single Claude Code session. Some generations needed a second attempt (the character's claw design occasionally simplified), but most were usable on the first try.
The Results
You can see all 32 illustrations live on the Clawly use cases page. Each one features the same robolobster character in a different scenario — from scanning emails to reviewing pull requests to moderating Discord communities.
The consistency is immediately apparent when you scroll through the page. Same character, same style, 32 different stories.
By the Numbers
- 32 final illustrations produced
- ~40 total generations (some scenes needed a retry)
- Character design phase: ~5 generations with Nano Banana Pro
- Production phase: ~35 generations with standard Nano Banana
- Total time: Under 2 hours from start to finish
- Cost: A fraction of what a freelance illustrator would charge for a single illustration, let alone 32
Lessons Learned and Tips
After going through this process, here's what we'd tell anyone attempting a similar project:
1. Invest Time in Character Design Upfront
Don't rush the character design phase. Getting the reference image right with a high-quality model saves enormous time during mass production. Think of it as your "character sheet" — the more detailed and consistent it is, the better everything downstream will be.
2. Use the Expensive Model Sparingly, the Cheap Model Generously
The two-tier model approach (Pro for design, standard for production) is the cost-efficiency sweet spot. You get the quality where it matters most (character design) without paying premium prices for every generation.
3. Lock Your Prompt Template
Write the character description once and reuse it verbatim. Any variation in how you describe the character will introduce visual drift. Be specific about colours (use hex codes if supported), proportions, and distinctive features.
4. Let the AI Agent Handle Iteration
This is where MCP and Claude Code really shine. Instead of manually checking each generation, Claude Code can compare outputs against the reference and decide whether to accept or regenerate. It's not perfect, but it catches the obvious drift cases.
5. Accept Minor Variations
Perfect pixel-level consistency across AI-generated images isn't realistic yet. What matters is that the character is recognisably the same across all illustrations. Minor pose and expression variations actually make the set feel more natural.
6. Batch by Scene Complexity
Simple scenes (character at a desk) tend to be more consistent than complex scenes (character in a crowded server room). If you notice drift in complex scenes, simplify the background or reduce the number of elements competing for the model's attention.
When This Workflow Makes Sense
This approach works best when you need:
- Multiple illustrations of the same character — Children's books, marketing materials, website assets, brand mascots
- Consistent style across a set — Product documentation, tutorial series, onboarding flows
- Rapid production — When you need dozens of images and can't wait weeks for a freelancer
- Programmatic generation — When the image content can be derived from structured data (like a list of use cases)
It's less ideal for one-off hero images where you need absolute precision, or for photorealistic content where character consistency requirements are even stricter.
The MCP Advantage
The real unlocked capability here isn't just AI image generation — it's the programmatic access via MCP. When your coding agent can generate images as naturally as it writes code or reads files, illustration becomes just another step in your build process.
Imagine a CI/CD pipeline that automatically generates fresh marketing images when you update your product features. Or a documentation system that creates relevant illustrations as you write. That's the direction this is heading.
If you want to try this workflow yourself, you can set up the AI Photo Generator MCP in about two minutes — it works with Claude Code, Claude Desktop, and any MCP-compatible client.
Frequently Asked Questions
Do I need to be a developer to use this workflow?
You need basic familiarity with Claude Code and JSON configuration files. The MCP setup is copy-paste simple — the documentation walks you through it step by step.
How consistent are the characters really?
With a well-crafted prompt template, we achieved about 80-85% first-try consistency. The remaining 15-20% needed a regeneration. The character is always recognisable, but minor details (exact claw shape, antenna angle) can vary slightly between generations.
What's the cost for 32 illustrations?
Using the standard Nano Banana model through AI Photo Generator, the total credit cost for ~40 generations (including retries) is very affordable — significantly less than a single freelance illustration commission. Exact pricing depends on your plan and output resolution.
Can I use this for photorealistic consistent characters?
This workflow is best for illustrated/cartoon characters. For photorealistic consistent characters (like AI headshots of the same person), AI Photo Generator's character training is a better approach — upload selfies and the AI learns your specific appearance.
Does this work with other AI coding assistants besides Claude Code?
The AI Photo Generator MCP server works with any MCP-compatible client. Claude Desktop also supports it natively. As more coding tools adopt MCP, this workflow will work with an increasingly wide range of assistants.

